When you are going to upload an image online, image size is a key thing to consider. If the image size is bigger than the required size, it will make the image unsuitable for that platform. In that case, you can reduce image file size to make the image ready to use.
Using Photoshop, you can easily reduce image file size in Photoshop. Through this article, we are going to share this trick with you. After reading this article, you will be able to reduce image file size without losing any resolution of your image.
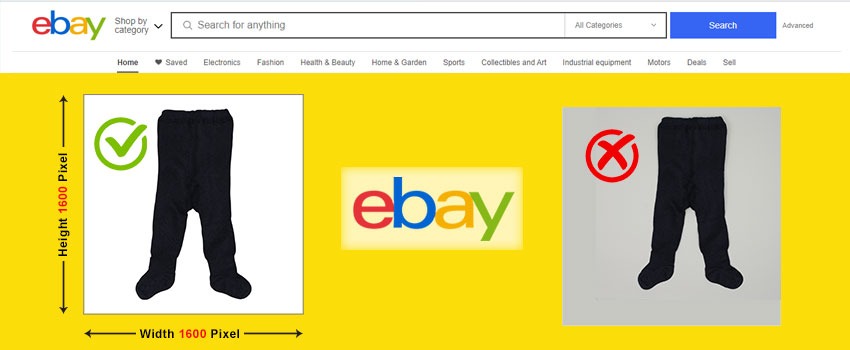
Amazon and other eCommerce platforms have their specific product image requirements. It will assist professional photographers and product sellers to maintain standard file size for their photography.
When to Reduce Image File Size?
As we have mentioned, eCommerce platforms have mandatory guidelines for product photography. If you don’t follow those guidelines, your product won’t get approval for the listings.
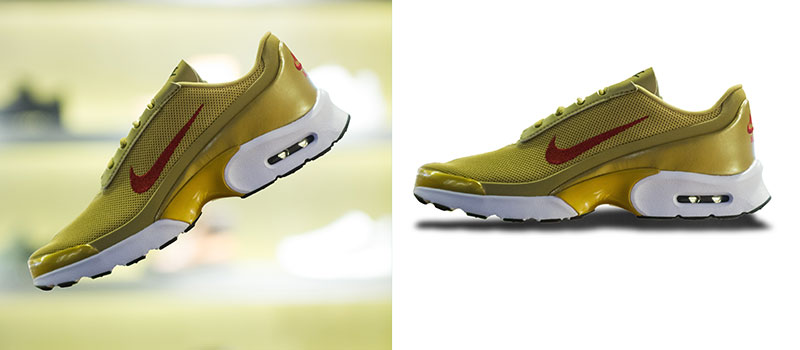
That’s why online sellers and product photographers order eCommerce Image Editing Services to optimize their images and enhance quality according to the guidelines.
If you are going to upload your photography to your own website, you also need to reduce the image file size. Otherwise, it will slow down your website and increase the page loading speed.
That will have a negative impact on users’ experience. So, whenever you are going to use your photographs for a specific platform, you need to reduce the image file size according to their instructions about image size.
How to Reduce Image File Size in Photoshop?
Step 1: Open the image in Photoshop to reduce file size
Firstly, you have to open your image in Photoshop if you want to reduce the file size. For this method, we are going to use the below product photography.
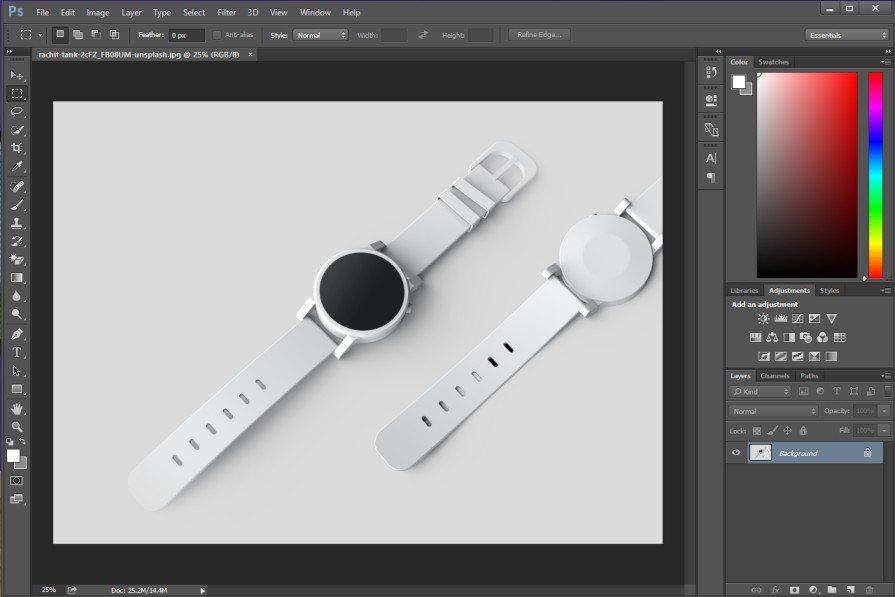
This image size is nearly 1 MB. We are going to decrease its size to below 150 kb without losing any visible quality.
Know More: Product Photography Pricing Guide For Better Budget Optimization
Step 2: Go to Export
In the second step, you have to click on the “Export” option from the top. From that option, you are going to get the “Export As”.
Here you can find it.

Also, you can use the shortcut key “ALT + SHIFT + CTRL + W” to enable this option.
Step 3: Change file settings
After that, a new pop-up window of “Export as” will appear on your screen. From the left side of that box, you can see the file settings.
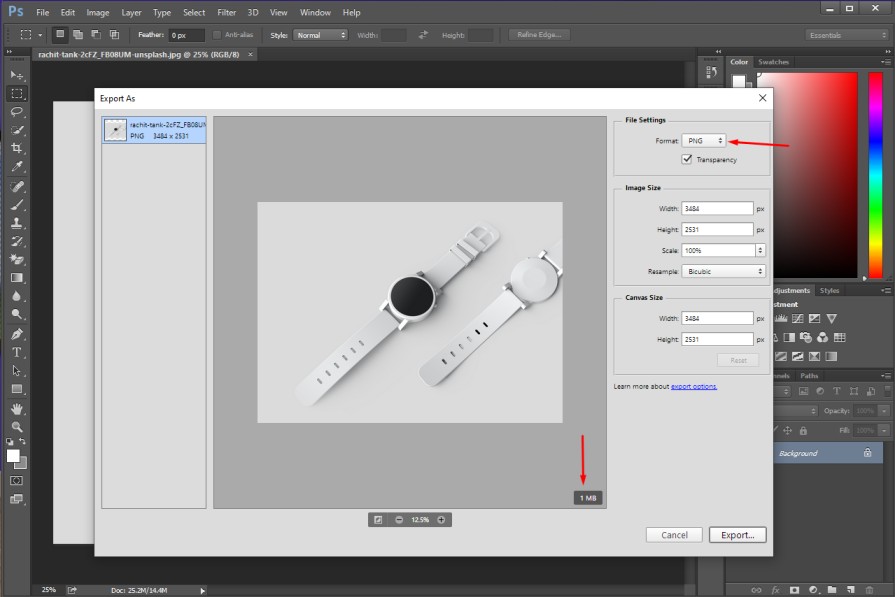
At the below of the image, the file size will be mentioned. So that, you can see the exact file size even before saving the image. You have to change the file format to “JPG” from the right side.
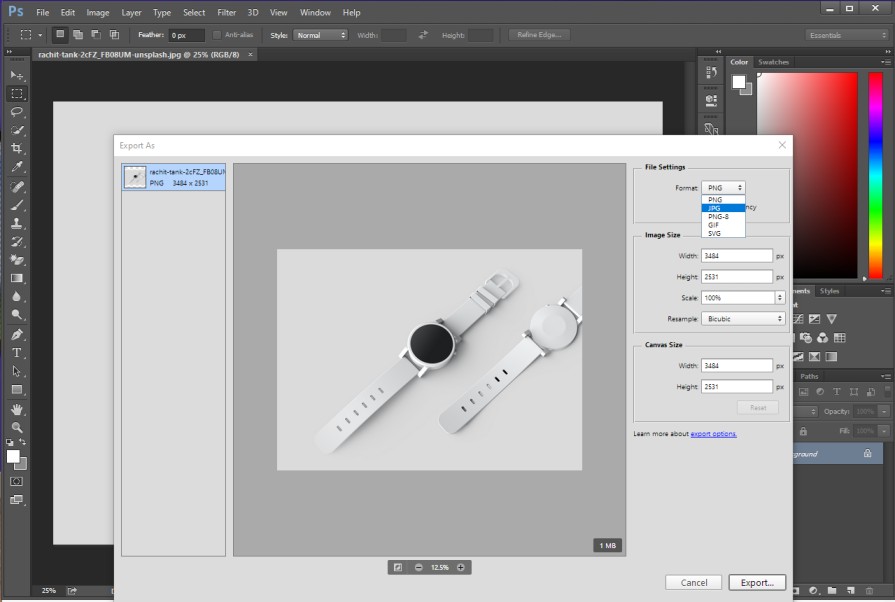
Then, you will see the quality % below the JPG option.
Step 4: Reduce Quality
At this point, you just need to click on the quality bar and decrease the percentage.
You can get it from here.

For this image, we are going to set it around 40%. You can choose it according to your reduce image file size requirements.

When you are done with that, you just need to click on the export button from the below and choose the file location. It will save the image with reduced file size on your device.
So, the image was around 1MB at the beginning. After reducing the image size, you have got the output image less than 100 kb. The best part is there won’t be any notable changes in the quality when you compare those two images.

What’s the Difference Between Image Compression and Image Resizing?
Image Compression indicates the process of preserving Quality and saving space. Image compression specifies the method to reduce an image’s file size while preserving its quality.
The primary goal of compression is to make images more manageable for storage. At the same time, it should be done without compromising the visual appeal.
Image Resizing is the process of changing dimensions. It’s not directly connected with the quality. Image resizing is like giving your image a new width and height.
It changes the dimensions and aspect ratio of the image. This process is perfect when you need an image for a specific aspect ratio. Image cropping is applied to change the image size.

3 Tips To Follow
- Make sure that you choose the JPG format from the image file settings.
- Rename the file while exporting to keep both original and reduced images.
- Keep an eye on the below of image from export windows to get the required image file size.
3 Mistakes To Avoid
- Don’t make any changes to the image size or canvas size from the file settings.
- Don’t choose the PNG format, it won’t show you different quality options to change the size.
- Don’t go to the save as option rather than choosing “Export as”.
Final Words
If you know the proper technique, it’s an easy task to reduce image file size without losing the image quality. By following the above steps, you should be able to reduce your image size like a pro.
However, if you have a bulk image to work on, you can ask for our assistance to get your image resizing or editing task done. We have a team of dedicated and highly skilled designers to fulfill the requirement of professional image editing.
FAQ’s
How do i reduce the MB size of a photo?
You need to open the image in Photoshop and choose the export option. Then, change the file quality % to reduce the MB size of a photo to KB.
How do i reduce the file size of JPEG?
To reduce the file size of JPEG, open the image in Photoshop and change quality settings from the “Export” option.
How do i make a PNG file smaller without losing quality?
Open the PNG image in Photoshop and go to the image size option from the top. From there, you can choose a new resolution for the image.
How can i check the final file size before saving the image in Photoshop?
In the “Save for Web” option, you can look at the bottom left corner to know the estimated file size for the current settings.
What are other alternatives to Photoshop for reducing image file size?
GIMP and Adobe Lightroom are other alternatives to reduce image size. Also, online image compressors are available if you don’t have access to Photoshop.
How can i resize an image in Photoshop to make it smaller?
You have to select the “Image”. Then, go to the “Image Size” and adjust the dimensions by width and height. You can also set a percentage to reduce the image’s size.
