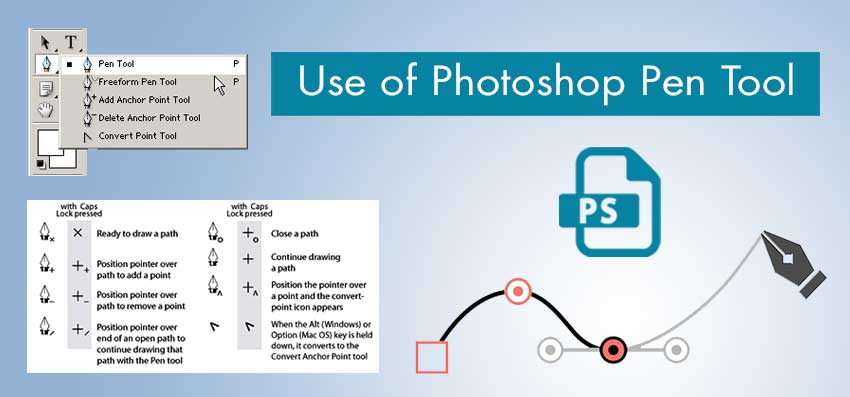
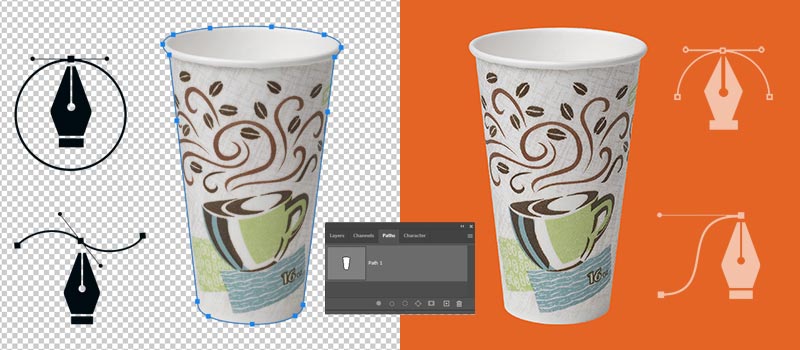
People who deal with product photography are pretty familiar with the term Clipping Path in Photoshop. While editing any type of product photo, it’s essential to isolate the product precisely for perfect presentation.
Whenever we talk about the precise selection of a product, the Photoshop path creation technique comes into play.
Are you getting excited to know about Photoshop create path from image with simple step-by-step guidelines? Hopefully, you are going to master the art of Photoshop Clipping Path through this article.
Without any interruption let’s make a dive on it.
How to Create Path from Image in Photoshop?
Step 1: Choose your photo
At the very first, you should decide on which photo you’re going to apply the Photoshop path creation technique. I am going to proceed with that image.
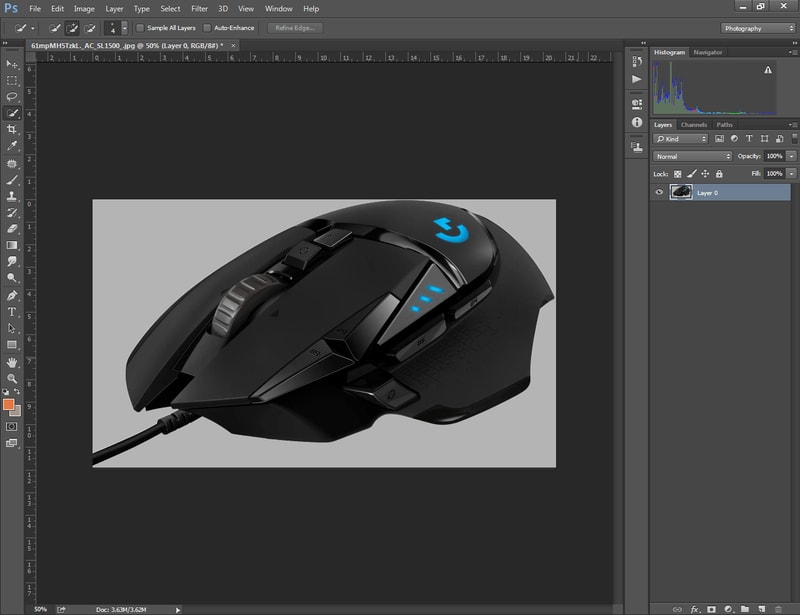
In that image, the overall appearance of that object looks shady as the background isn’t in the best form. By applying the path creation technique, we’re going to get rid of this unsuitable background.
Go to the “File” option from the top and select your image that requires unsuitable background removal. Then, pick the Pen Tool from your left.
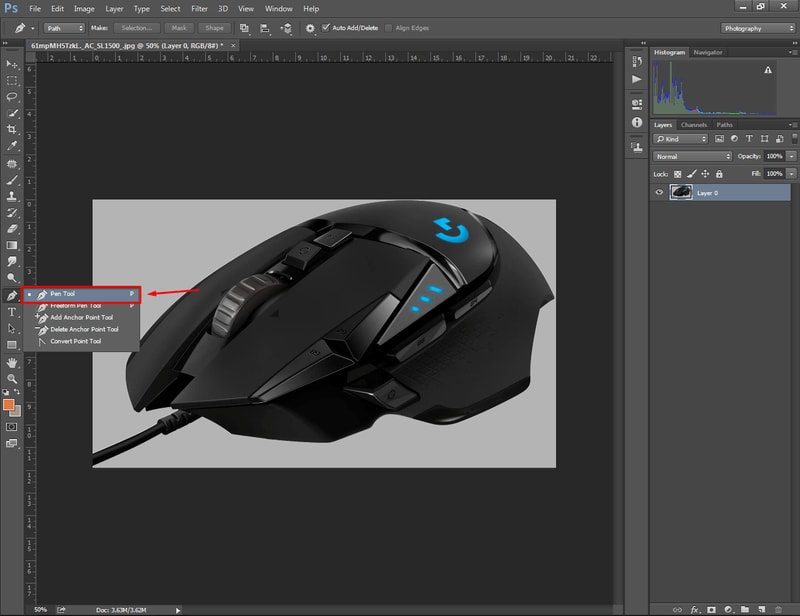
Make sure that you have unlocked the basic layer. Have you already done that? Well, you should move to the 2nd step.
Step 2: Select starting point & create path
Now, we’re going to select a starting point that looks convenient. For our sample image, it seems like the bottom section would be a better point to start with.
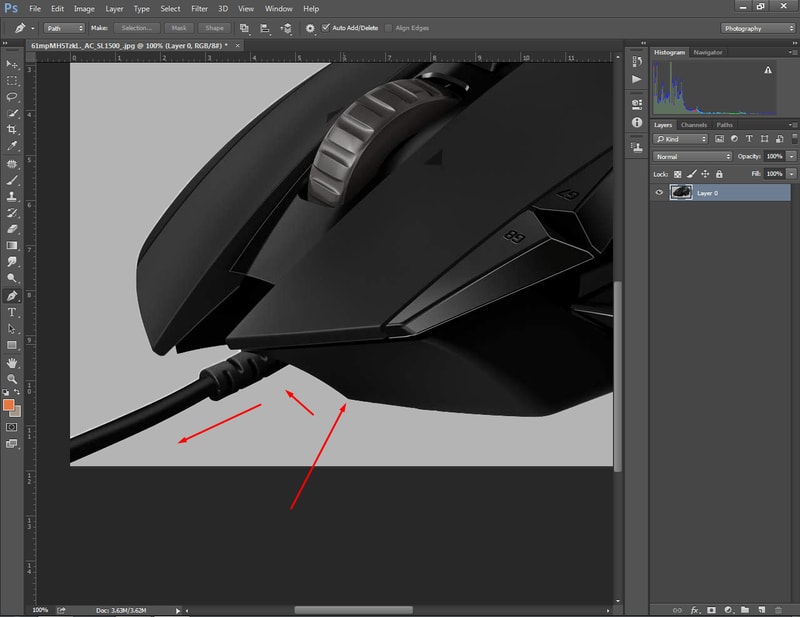
You can also start from the upper side if it seems to be more convenient. However, you can start from anywhere as long as you cover your entire object creating Photoshop paths.
Step 3: Customizing clipping path
It’s easier to create paths from images for a straight shape object. But, you may find it difficult to create path for curved areas.
No need to worry about it. You can make paths for the bending area by dragging your mouse. Also, use the “ALT” and “CTRL” keys to customize your created path.
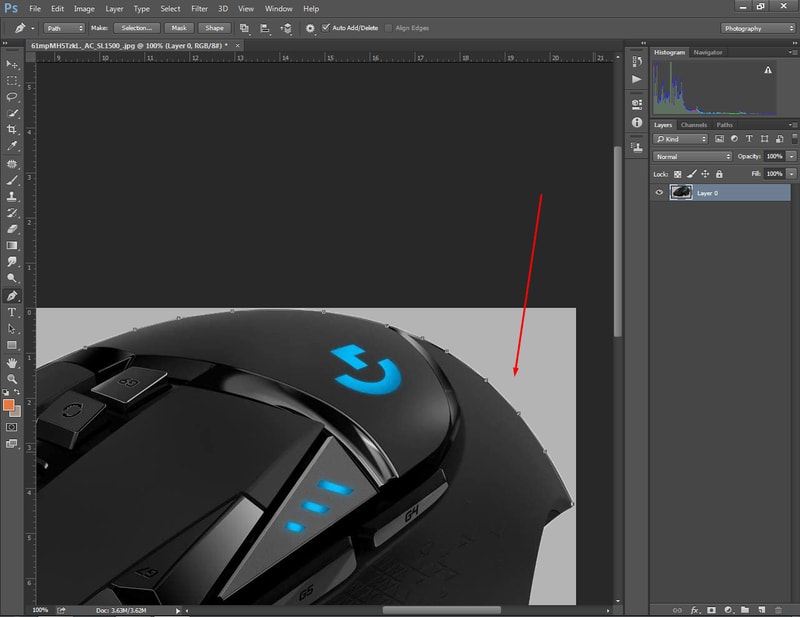
The “CTRL” key is used for adding new anchor points to the created path. On the other hand, a designer can change the direction of the path while holding the “ALT” key.
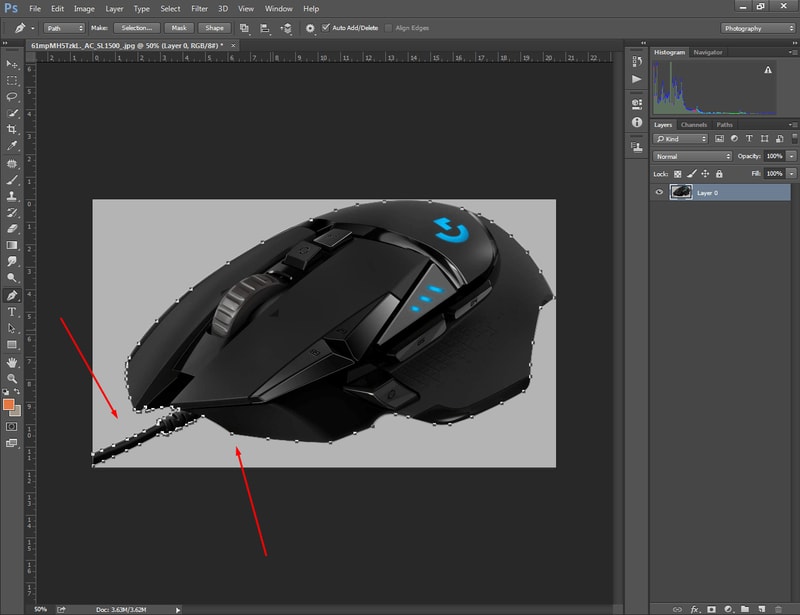
As a beginner, you may face difficulties while creating paths for complex-type objects. You can try Clipping Path Service to get assistance from Photoshop expert path designers. However, let’s move to the 4th step and learn how to save a path.
Step 4: Save your path
Sometimes, you may have to create several paths for a specific photo. In that case, you should save your path before you start creating multiple paths. You can save your path from this option.
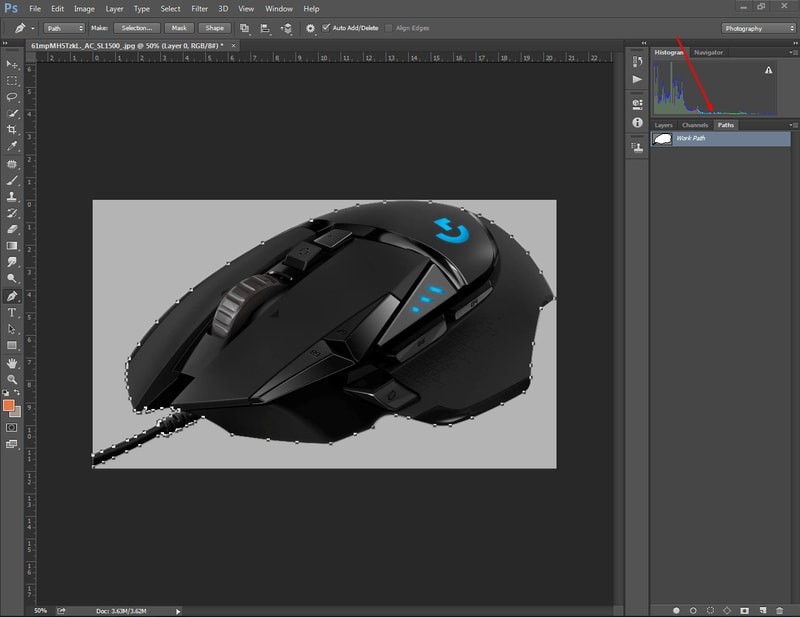
You just need to double-click on the work path option and you can proceed to save your path. Are you okay with that? Alright, jump to the next step.
Step 5: Turn clipping path into dotted lines
At this point, we’ve got our object covered with a clipping path. We need to right-click on the mouse and hit on “Make Selection”. It will bring the feather radius option to your screen. We are going to keep it to zero.
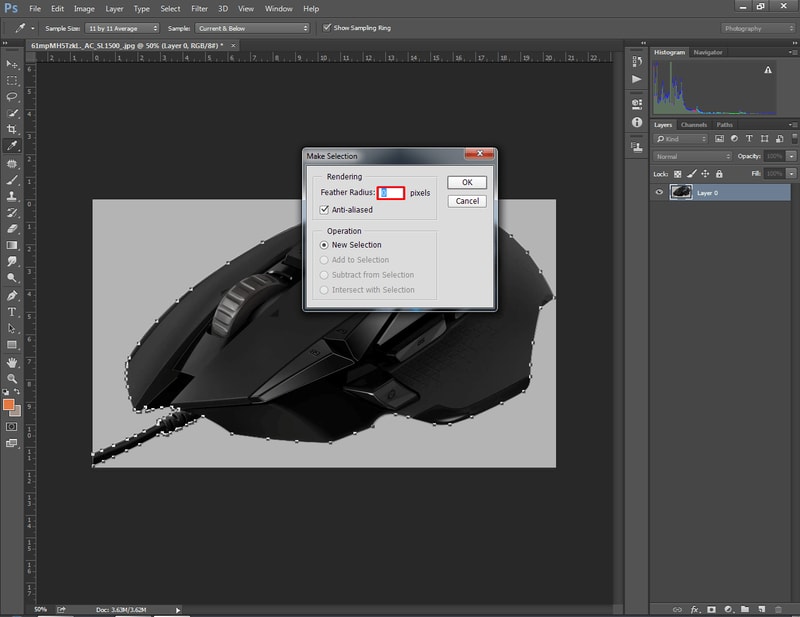
We’re almost done. Let’s execute the final task.
Step 6: Erase unsuitable background
As we have selected the product, we should press “CTRL + SHIFT + I” to reverse the selection. After that, dotted lines will cover the entire background.
You can erase the unsuitable background of your image easily by pressing the “Delete” key. Also, you can select “Layer Via Cut” to cut your product on a transparent background.
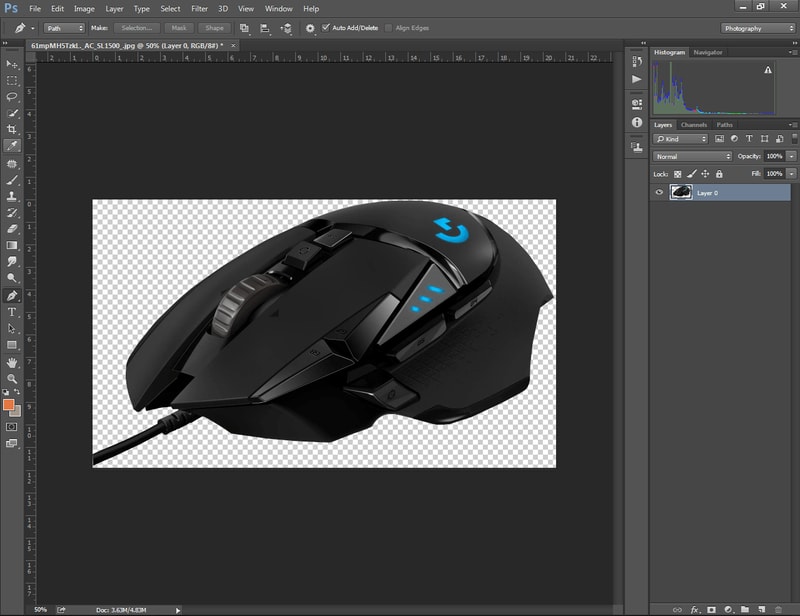
That’s the ultimate outcome. Following that method, you will be able to create paths from images
Wrapping Up
While creating a clipping path in Photoshop, you should be careful about maintaining accuracy. Otherwise, you may lose details of your objects.
Do you want to apply a clipping path for your product photography? It’s better to take assistance from a Professional Photo Editing Company such as Clipping Way.
FAQ’s
How to save a path after selecting an object
Go to the path option from the layer panel and double-click on the work path. Then, rename the existing path and press Enter.
In which format Clipping Path remains active after saving a picture?
You have to save the picture as JPG to keep the created clipping path active.
How can i change the direction of the path?
You need to press and hold the “ALT” key, then drag the path to change its direction.
How can i turn clipping paths into selection?
You have to right-click on the image and select “Make Selection” from the options. If the option isn’t visible, make sure that you have closed the starting anchor point.
How can i customize my created paths?
To customize your created path, you have to use the CTRL and ALT keys. You can change the direction, add a new anchor point or remove an existing anchor point.

