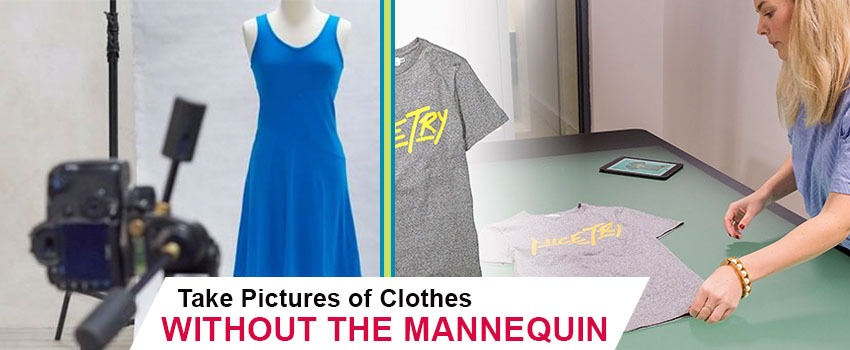
Whenever it comes to promoting garment products, ghost mannequin is the preferable method to follow. It improves the overall look of the product and potential customers can get the actual shape of dresses.
In the beginning stage, you might find it difficult to deal with ghost mannequin photography. Are you also struggling with that?
You’re just at the perfect place to overcome your struggles about taking ghost mannequin photos.
Within a few moments, you’ll learn how to do ghost mannequin photography professionally. Moreover, some special tips are available to make you a better ghost mannequin photographer.
Let’s learn how to do apparel photography in a professional way.
How to Use A Ghost Mannequin for Apparel Product Photography? 3 Key Steps
1. Selecting and posing a model or mannequin
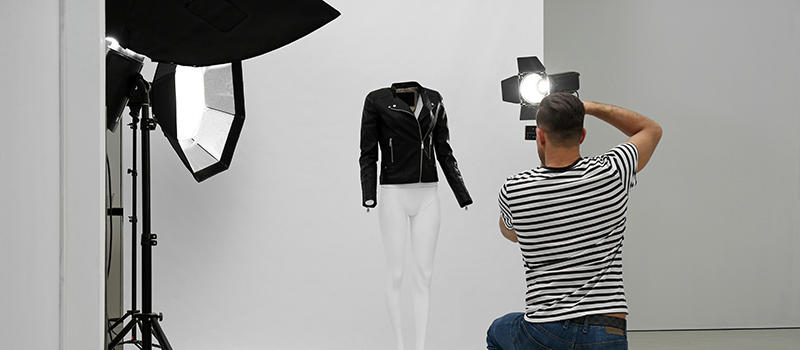
Basically, garment item sellers prefer two methods for promoting their clothing items. You can create a ghost mannequin effect both with the model and a mannequin. I am going to explain both methods. Let’s start with how to use ghost mannequin photography with models.
First of all, your model should wear the dress in the proper way. You have to capture the photos from different angles to reflect the actual look. Mainly, you should capture photos from the front, back, and side angles. Posing is an important factor that can affect the ultimate look.
Models ought to stay static and keep their arms straight while doing ghost mannequin photography. Otherwise, the entire dress with proper details might not be visible properly. Another important fact to remember, when you’re taking photos from the backside, asks your model to tie up her hair so it doesn’t interrupt the look of the dress.
Now, let me tell you which tips to follow for using a mannequin. You need to start with putting the dress on a mannequin. Next to that, take a clip and bring the dress in perfect shape.
Also, you can move the hands of the mannequin to make the sleeves more attractive. Don’t forget to use the clip or pin to fit the dress perfectly. If you find any wrinkles or unnecessary marks, fix them before taking photos. By the way, it can be fixed later. However, have you done that? Great, we can move to the 2nd step.
2. Setup and equipment
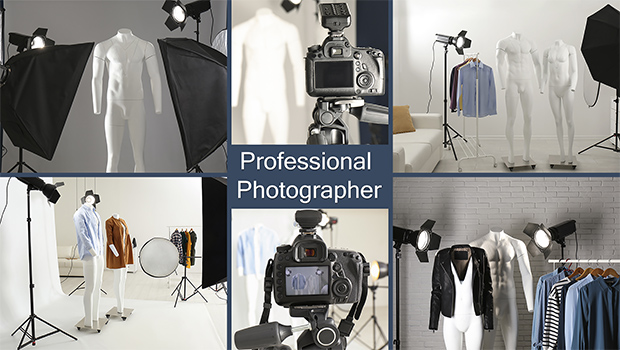
At this stage, ghost mannequin photographers have to focus on setting up the equipment perfectly. Particularly, you need to have the equipment to capture the photo like a pro.
- Camera
- Lens
- Tripod
- Light
- White Board
You should keep a whiteboard as the background to get your photos in perfect outlook. Busy backgrounds with random colors can reflect lights on your product and it may look different than its actual color.
If you don’t have a whiteboard, you can also use the wall of your room or white clothes. Later on, you have to place the light sources so that your clothing item looks more livid. Have you already done that?
Fine, you have to attach the lens with the camera. Canon 24-70mm f/2.8 or
Sony FE 85mm f/1.4 will be perfect lens for ghost mannequin photography. You have to spend a bit more time for the first few shots.
Once you get everything positioned properly, it will be easier for you to capture quality photos seamlessly. Capture two more three demo shots and inspect the picture.
If the photo looks too bright, then increase the distance of the light and try again. Is everything alright? Now, we are ready to capture the product.
3. Photographing the Product
Last but not the least; this is the most important step that will decide the final outlook of your ghost mannequin photography.
Some photographers make a common mistake by photographing all sorts of clothes from a similar distance and angle. You should not commit the same mistake. Are you eager to know about the proper technique? Here you go.
When you’re taking photos of a shirt, gown, jacket, or coat, you should set the camera matching with the chest level. That will keep the shape and view natural.
On the other hand, you ought to set the camera matching with the hips level for pants, skirts, jeans, and shorts. It’s essential to align the camera angle properly to make the photography more realistic.
Besides, you should remember that your main objects such as t-shirts, pants, and baby dress should cover at least 80% of the entire frame. Otherwise, it won’t be appropriate for uploading online.
Also, keep the focal length nearly similar for the front, back, and side angles. Clothing photographers should use a tripod to avoid unexpected shaking and keep the distance static.
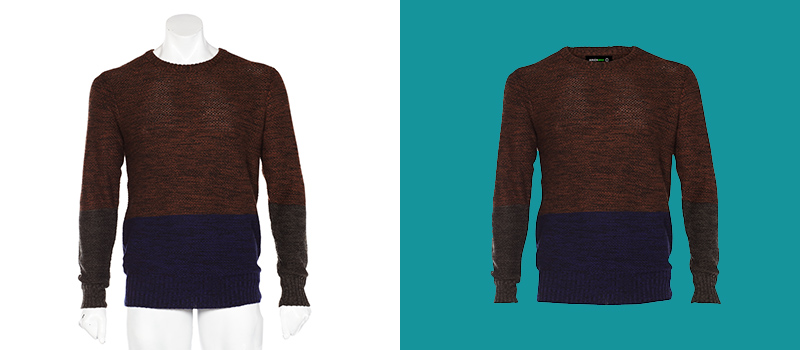
At this stage, you have learned how to do apparel photography for the ghost mannequin effect. Now, it’s time to remove the model or mannequin and bring an invisible mannequin look. That would be interesting, won’t it? Let’s move forward.
How to Bring Ghost Mannequin Photography Effects?
We can bring a ghost mannequin photography effect with the help of Adobe Photoshop. Basically, you have to select the clothing item using any object selection tool such as the pen tool, lasso tool, and quick selection tool.
After that, you need to export the selected product on a new layer. You can use a transparent background, pure white background, or solid color background for the final presentation. Permit me to tell you the procedure shortly.
1. Open clothing image in Photoshop & create selection
You have to open the clothing images in Photoshop. For a precise selection, you have to utilize the Pen Tool. So, you have to pick the pen tool and go to the work path.
Then, create a vector path around your clothing item and turn it into a selection. Next to that, you have to export the selection on a new layer by pressing CTRL + J.
2. Merge neck with front view
Later on, you should click on the other image that is showing the neck area of the dress. You have to pick the rectangular marquee tool from the left side and create a rectangle covering the neck portion.
We are going to merge this section with the newly created layer. To do so, click on the arrow tool and press “CTRL + C”. After that, go back to the newly created layer and press “CTRL + V”, which will make the neck portion visible. You have to use the shortcut “CTRL + T” to enable the free transform feature.
3. Remove additional portion
After that, you can utilize the eraser tool for removing unnecessary portions and other elements. You need to make sure that you have clicked on the base layer. We’re just one step away from getting the expected ghost mannequin look.
4. Set preferable background and save your image
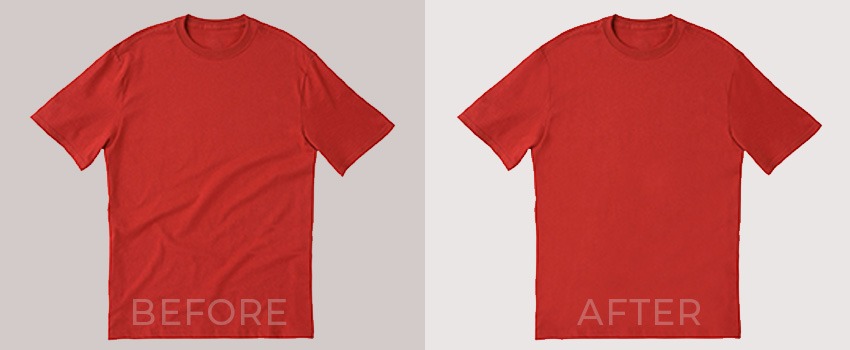
You can set customized backgrounds with any solid color or pure white. For applying that effect, you have to click on the adjustment layer and select a solid color. Finally, you can save the image in your required format from the “File” option.
However, ghost mannequin photographers have to deal with a large number of photos. It seems difficult for photographers to spend that amount of time on each photo. In that case, you can rely on our Ghost Mannequin or Neck Joint Service by Clipping Way. Let’s upload your image now and get a Free Trial.
Special Tips for Ghost Mannequin Photographers to Take Better Quality Apparel Photos
Use white mannequin
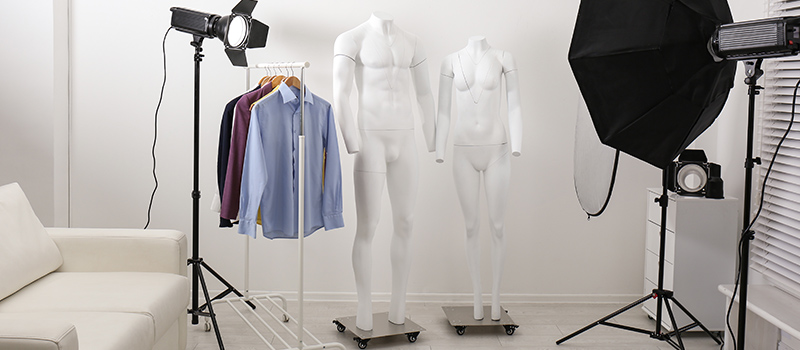
Using a white mannequin will make the post-processing work easier. At the same time, it can save your budget as there is no need to hire models anymore. You can easily isolate anything from white background with the help of Adobe Photoshop.
Capture with Static Pose
A static pose is preferable for ghost mannequin photography. Your model should not keep her hand on the body while taking photos. The body and sleeve of the product should be visible properly. For the neck portion, lay down the dress on the floor or use a hanger.
Use Clip and Pin for Proper Shape
The size of the mannequin may not be perfect for each dress. No need to buy several mannequins for getting the perfect size and shape.
It would be better and budget-friendly to utilize pins, clips, and tape to fit the dress with the mannequin. You can use those elements on the backside so that it doesn’t appear on the frame.
Fill Minimum 80% Of the Frame
Some beginner photographers get confused about how to do ghost mannequin photography. Sometimes they get confused about the distance of the E-commerce product from the camera. Are you also one of those? It would be ideal to fill at least 80% of the frame.
Post-Processing Work
Most importantly, post-processing work should be done professionally. It will be better to get assistance from a Professional Image Editing Company for your invisible ghost mannequin service. Ask for a Free Quote now to know our service price.
Final Words
Now, you know how to do ghost mannequin photography professionally with proper details. Have you got any queries related to ghost mannequin photography?
You can ask our expert about that. Clipping Way will be the best choice for that. They offer a 100% money-back guarantee. Feel free to contact us anytime.
FAQ’s
How do you take ghost mannequin pictures?
You can take ghost mannequins pictures with models or mannequins.
How do you do the ghost mannequin effect?
Using Adobe Photoshop you can do the ghost mannequin effect.
How much does it cost to take ghost mannequin service?
It will cost $0.50 per image. Ask for a quote to get pricing with special discounts.
Is flat lay photography suitable for the ghost mannequin effect?
Flat lay photography isn’t the best option for the ghost mannequin effect.
