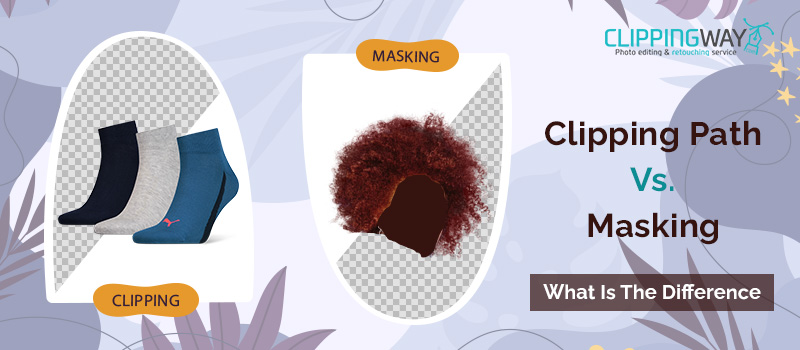
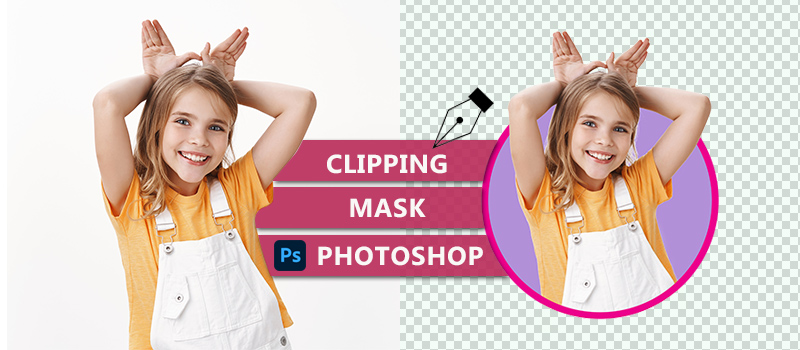
Whenever you are looking to remove the background from an image, Clipping Path vs masking are two go-to methods for that.
Though the motive of Clipping Path and Masking are pretty similar, there are some key differences that make those editing techniques suitable for different requirements.
In this article, we are going to share the difference between Clipping Path Vs Image Masking. We are going to mention the difference in detail. It will assist photographers and product sellers to choose the suitable method according to their requirements.
What is A Clipping Path?
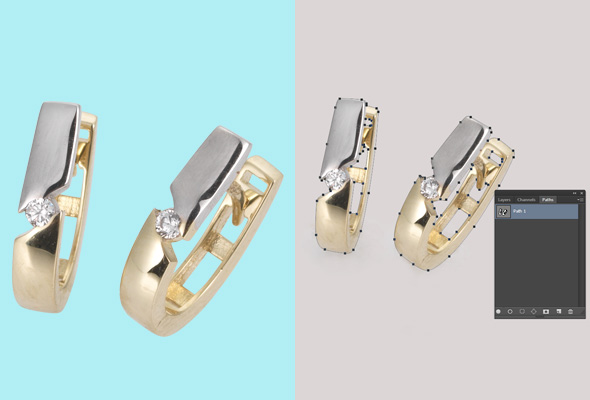
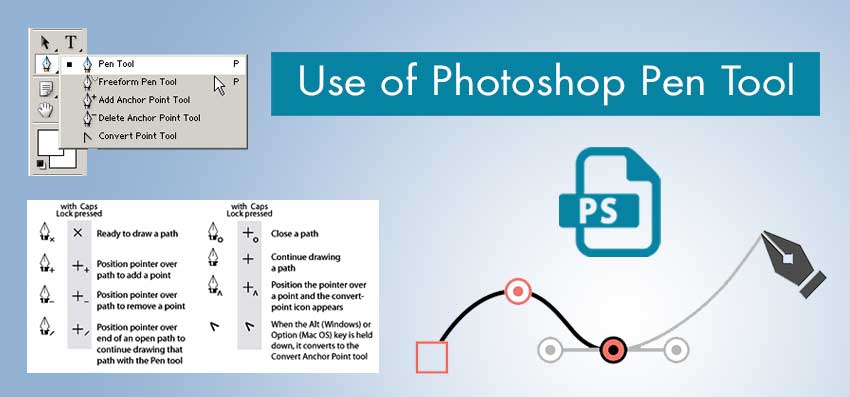
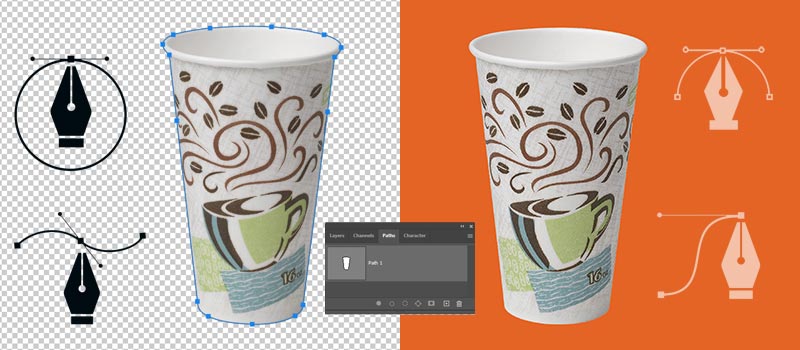
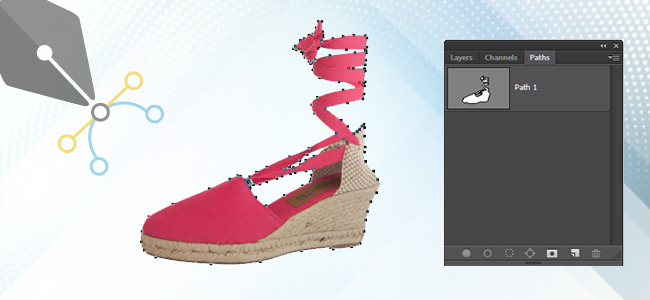
Clipping Path is a Photo editing method used by professional designers to remove the background from an image. The pen tool in Photoshop is used to do the task.
Using this method, you can select any type of object accurately. Therefore, this method is the best option for precise background removal without losing any details from the object.
The basic process of creating a clipping path is to select the pen tool and apply it to the object to make the selection. You just need to click on the left mouse key to create vector lines.
You can create straight lines and curved lines according to the object. After covering the object with vector lines, you have to convert the vector lines into a selection.
Types of Clipping Path
Basically, based on the complexity of the objects, the clipping path is divided into four categories, simple, medium, complex and super complex. But according to the type of editing process, we can differentiate the clipping path into two categories. Here is a short explanation.
Single Layer Clipping Path
When designers have to create only one layer to create the path, it’s called a single-layer clipping path. This type of clipping path is used for simple objects. When you just need to remove the background, you can use this method.
Multi Layer Clipping Path
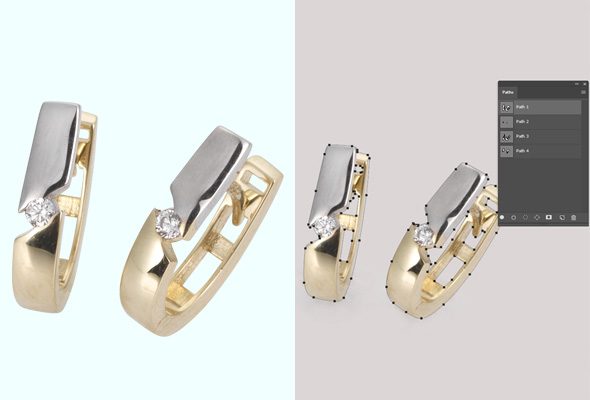
When designers have to create multiple layers to separate different portions of the objects, it’s called the multi clipping path. This is the more advanced version of the clipping path. This method is used when you want to customize different portions of an object separately.
What is Image Masking?
Image Masking is a non-destructive background removal process. Mask tool, background eraser tool, magic eraser tool and Color range option are used in that process.
When you have sharp edges in the picture, it becomes difficult to remove the background in a typical way. In that case, you can remove the background accurately using the image masking technique.
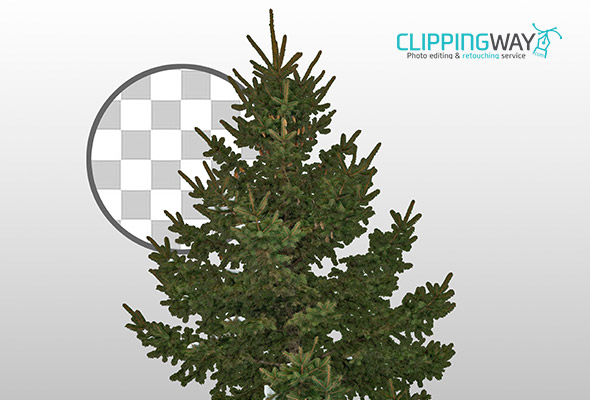
When there is hair, fur, fiber, fabric, or any other transparent object in your image, you can select the object precisely by following the image masking process.
The main advantage of image masking is you have the control to bring back the previous version at any stage. That’s why you can control which portion of the image needs to hide and which one to reveal.
Clipping Path Vs Masking: 7 Key Differences
There are lots of differences between the Clipping Path and image masking. Among those, we have found 7 key differences that make those techniques different from each other. Also, it will assist you to choose which technique will be suitable for your image editing requirements.
Visible Edges
A clipping path is suitable when the object has sharp edges. When you are working with solid objects, you should use the clipping path method to remove the background. It will remove the background perfectly. It is easier to select objects with sharp edges using the pen tool in Photoshop.
On the other hand, Image masking is highly recommended when there are soft edges on the object that you are working with. In portrait photography, a clipping mask should be applied to remove the background when the hair is visible. It will keep the details alive without compromising the quality.
Non-destructive Method
If you want to keep the editing method non-destructive so that you can always go back to the previous version, the image masking method is recommended for you.
It covers the background with another color without removing it from behind the object. You can choose and control which specific portion you want to hide.
If you don’t have anything to deal with non-destructive methods, you can follow the clipping path technique for your object background removal.
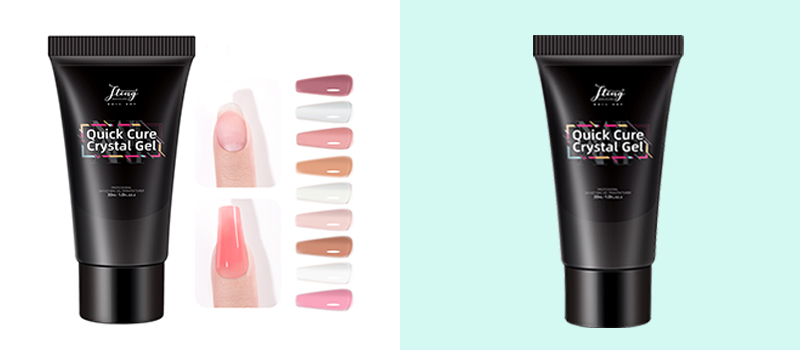
In product photography, there is no need to bring back an unsuitable background at any stage. That’s why the clipping path is used in background removal from product photography.
Combined Use
For some images, you may need to apply both clipping path and masking in the same picture. In that case, you have to start with the clipping path before going on the masking.
You can apply the masking after creating paths on your image. But it’s difficult to apply a clipping path after applying the masking. The reason behind that a clipping mask will hide some of the portions of your image that you don’t want to reveal.
So, you can’t apply the clipping path on that portion. However, for the combined use of clipping path and masking you have to start with creating the vector lines.
Object Type
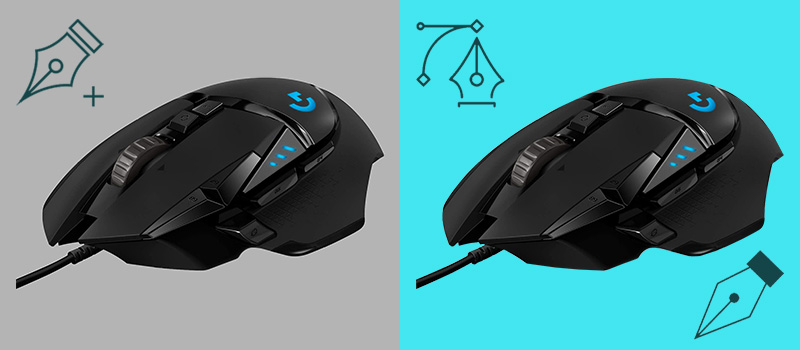
There is a big difference between clipping path and masking when you consider the object type. As we have mentioned earlier, a clipping path is required for objects like chairs, tables, shoes, ecommerce products, electric equipment, mechanical equipment, jewelry ornaments, and clocks.
You can select those objects with the highest accuracy using the Clipping path technique.
On the other hand, image masking is required for portrait photography, outdoor photography, fashion photography, lifestyle photography, transparent objects, mirror, glasses, and smoky environments.
You can apply the image masking both on a plain background and busy background. Also, you can choose this method for furry doll photos.
Smoothness
If there is a lack of smoothness on the object edges, you should go for the clipping path. On the other side, you should select the Clipping Mask method when you are working on an object with smooth edges.
It will assist the designers to achieve the highest accuracy according to the requirements.
In some cases, you might get confused about which editing method will be the most suitable one. In that case, you have to start by trying the pen tool.
If the pen tool can’t detect the object’s edges accurately, you can switch back to the image masking method.
Time Duration
There is a huge difference between the clipping path and masking when it comes to the editing time duration. Generally, the clipping path requires less time compared to image masking. But when you work on multiple Clipping Paths, you have to put some more time into it.
In image masking, it sometimes takes more than one hour while working on the hair. Therefore, we can say that image masking is more time-consuming. If you want to achieve a perfectly masked picture, you have to invest a good amount of time in it.
Tools Usage
Different types of tools are used in Image Masking. You can’t rely on any specific tools when it comes to masking.
You have to combine the brush tool, eraser tool, mask feature, color range tool, background eraser tool and sometimes selective color tool. So, you have to get familiar with different types of tools.
On the other side, you only need to access the pen tool only in the Clipping Path technique. You can create vector lines, make selections, and reverse selections using the only tool. Therefore, the method is pretty convenient to learn compared to the image masking process.
Layer Masking Vs Clipping Mask
While working on images for masking, you will find two different terms Layer Masking and Clipping Mask. What are the differences between those two types?
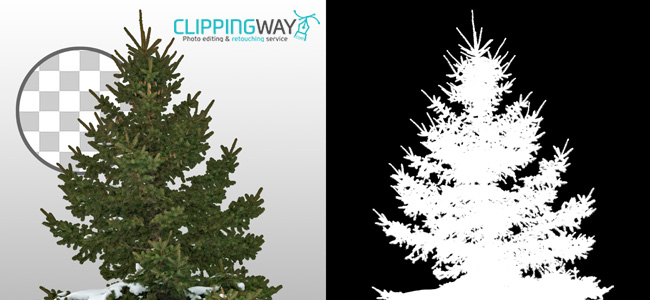
Layer masking is all about taking 100% control of the layer’s transparency that you are working with. You can hide and reveal any portion by using the brush tool. You just need to click on the mask icon from the layer panel to activate this feature.
In Clipping Mask, you can create masks for several objects in different layers. The term “Layer masking” indicates that you are working with only one layer.
When you are working with several layers of masks, the transparency of the visible portion depends on other layers too. Hopefully, now you have a better knowledge of layer masking and clipping masks.
When Clipping Path is Needed?
When you need to remove the background perfectly without losing any details from the targeted object, the clipping path technique is required to achieve the target.
If you remove the background having visible edges in the image, it won’t be able to attract visitors. Professional photographers, online sellers and studio people need to ensure that their photographs look stand out from others.
That’s the key specialty of clipping paths to make the image stand out with perfect background removal. At the same time, it will give you the option of customizing different parts of an object.
This is also useful in other advanced image post-processing works. If you want to attract viewers towards your photographs without having anything distracting in it, a clipping path will be the best suitable option.
When Image Masking Is Needed?
Have you ever tried editing a picture with loads of small details? Image masking is your go-to photo editing method here. It keeps those tiny bits sharp while you’re editing work.
When you try to remove the background from a photo, hair or fur looks like a big mess. Image masking keeps every hair in place without compromising losing any details.
Also, there are some see-through objects that you may work with. For example, you need to remove the background of a glass of colorful juice. You may find it difficult to change the background with an ordinary editing process.
But image masking makes sure your glass looks clear after removing the background. When a photo is against the background that’s too similar in color, regular editing tools won’t be able to do it smoothly, but image masking stays sharp in those cases.
Who Needs Clipping Path and Image Masking Services?
- Photographers
- Studio People
- Online Sellers
- eCommerce Owners
- Amazon & eBay Sellers
- Advertisers
- Portrait Photographers
- Product Photographers
- Agencies
Final Verdict
That’s all about Clipping Path vs. Masking. At this point, we have revealed what’s the difference between those image editing techniques.
Though both techniques are used for background removal, we have noticed that they have huge differences in working process and outcomes. Hopefully, this guide will assist you to choose the right image editing method for your imagery.
FAQ’s
Which one is better to get a transparent background between the Clipping path and Masking?
Clipping path and masking both image editing methods are capable of creating a transparent background. You can choose the method based on the object you have.
Which technique offers more flexibility between Clipping Path and Image Masking?
Masking will provide you with the advantage here. It allows you to make non-destructive edits. You can modify an object without permanently removing it.
Which editing technique to apply when there are shadows and reflections?
The image masking will be suitable for shadows and reflections. It lets you keep those natural elements intact for a realistic look.
Do Clipping path and image masking impact image quality?
When done well, you can maintain image quality in both techniques. So, there will be no impact on the image quality.
Which is common between the clipping path and masking?
The motive is similar here for both techniques. The motive is to remove an object from its original background.
