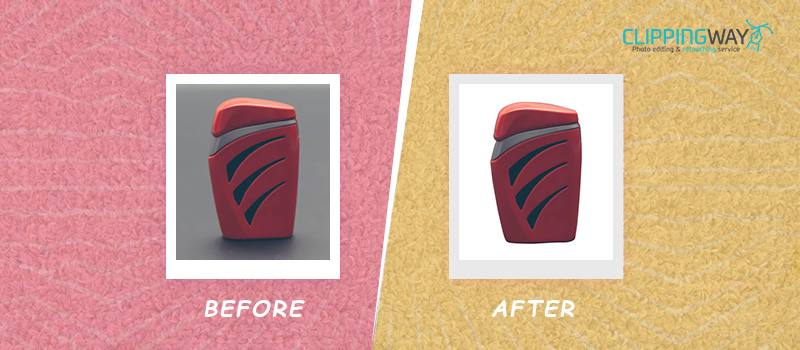
Background removal becomes mandatory when you have captured a subject with an unsuitable background. Removing the background will allow you to showcase the targeted object without having any potential distractions.
Many of us like to do image correction tasks such as image resizing and error fixing in Lightroom. As there is no straightforward method available, most of them are confused about how to remove background in Lightroom.
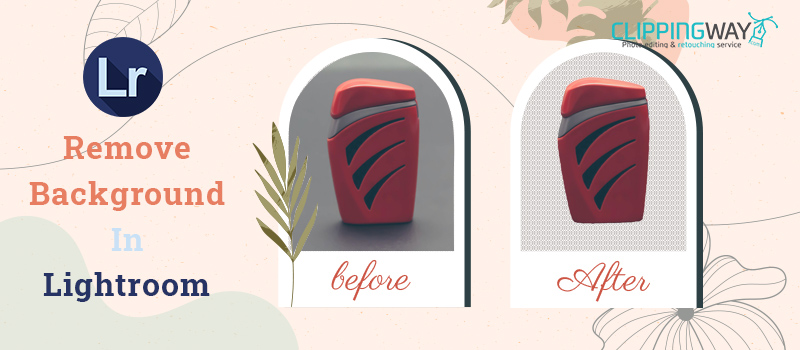
In this article, we are going to cover this query. We are going to reveal a trick to remove the background from any photos and replace the background with white color in Lightroom.
How Does A Photographer Remove Background in Lightroom?
Professional photographers follow the above method to remove their photo backgrounds in Lightroom. They import their imagery into Lightroom and select the unwanted background using the adjustment brush tool.
As we have mentioned, there are no dedicated selection tools available in Lightroom. That’s why it’s a bit challenging to remove the background precisely when you are working on a complex background.
On that note, professional photographers rely on Photoshop to remove backgrounds from complex photos accurately.
Who Needs to Remove Background Lightroom?
People who are involved with photography for commercial purposes need to remove background in Lightroom. Professional photographers often prefer to use Lightroom to post-process their raw photos.
In that case, Background Removal Service is the best option to get rid of unwanted backgrounds from raw photography.
Lightroom can be an alternative option to get rid of the image background. To be more specific, photographers, Studio people, online sellers, advertising agencies, product promoters, and Ecommerce people need to blur the background in Lightroom.
If you are willing to grab viewers’ attention through photos, you may also need to remove the background.
How to Remove Background in Lightroom?
Step 1: Import photo in Lightroom
First of all, you have to import your photograph in Lightroom when you want to remove the background. So, you need to run the Lightroom program and click on the import option from the library.
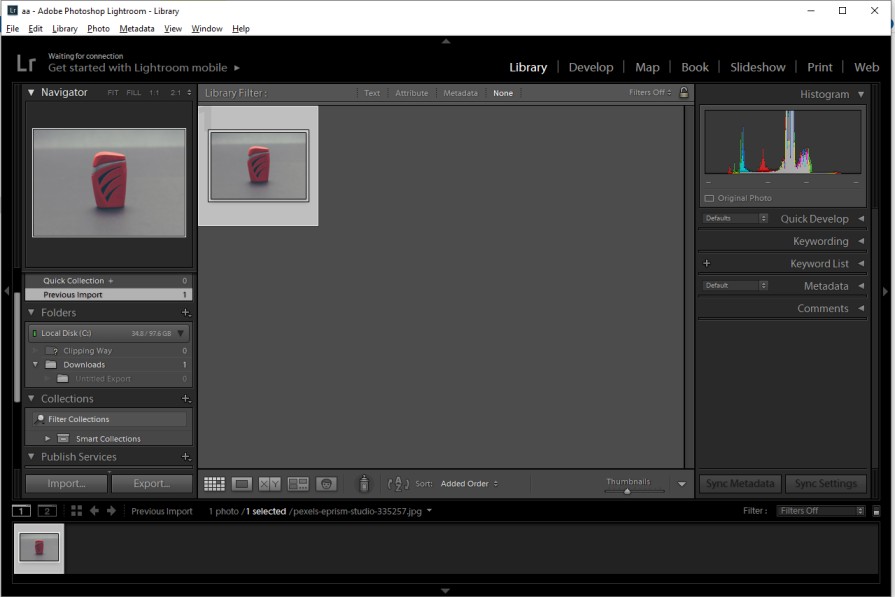
After that, you need to click on the develop mode from the top. It will allow you to make necessary adjustments to the image.
Here you can see the image in develop mode.
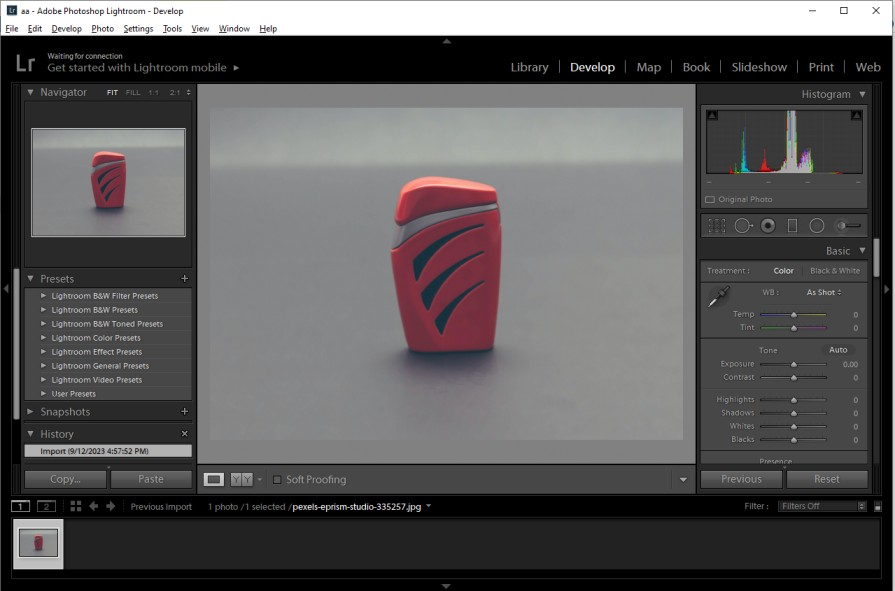
Now, we are going to proceed to remove the background from an image using Lightroom.
Step 2: Select Adjustment Brush
In Photoshop, some dedicated selection tools are available to select specific objects and remove the background.
There is no such option available in Lightroom. Therefore, we are going to use the adjustment brush tool option to make the correction. You can get the tool from this section.
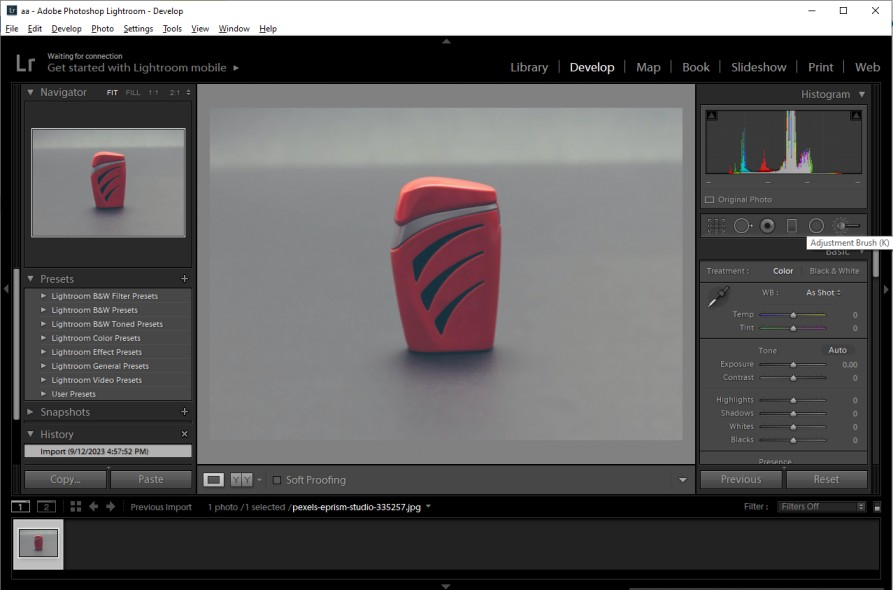
Next to that, you have to make some adjustments to the brush settings. You need to scroll down to access the brush adjustment settings.
From there, you have to select the Auto mask option. Then, set the density to 100%. It works like the opacity option in Photoshop.
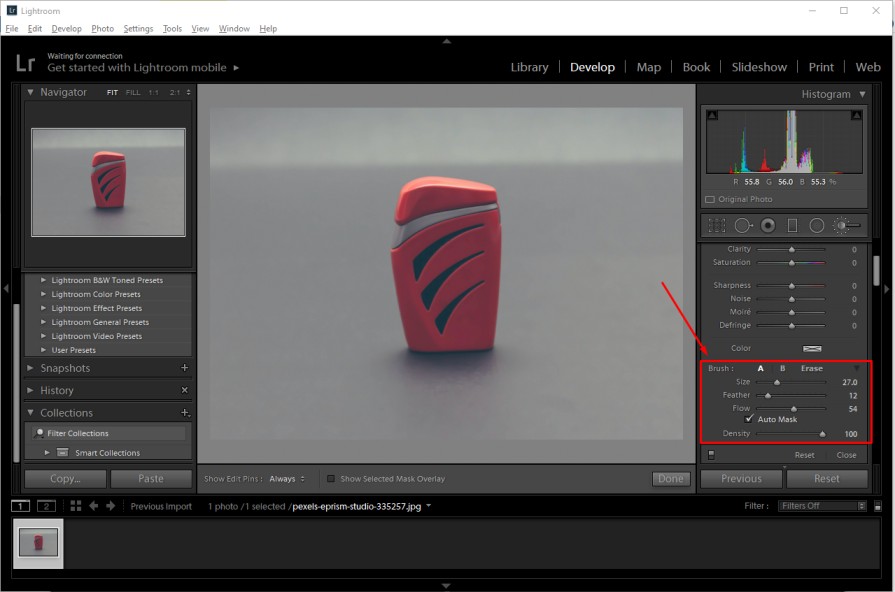
Then, you need to set the brush flow around 50 and set the feather around 10. Apart from those adjustments, you need to choose the brush size according to your requirements considering the object shape.
Step 3: Remove background in Lightroom
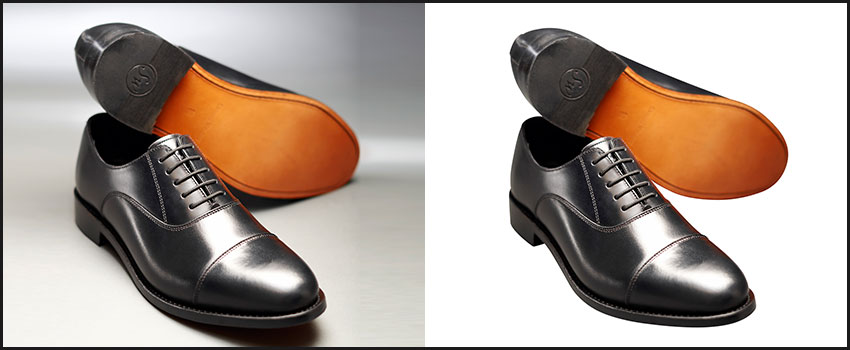
At this point, you just need to click on the image background and it will be replaced with a white background. Here’s the sample for you.
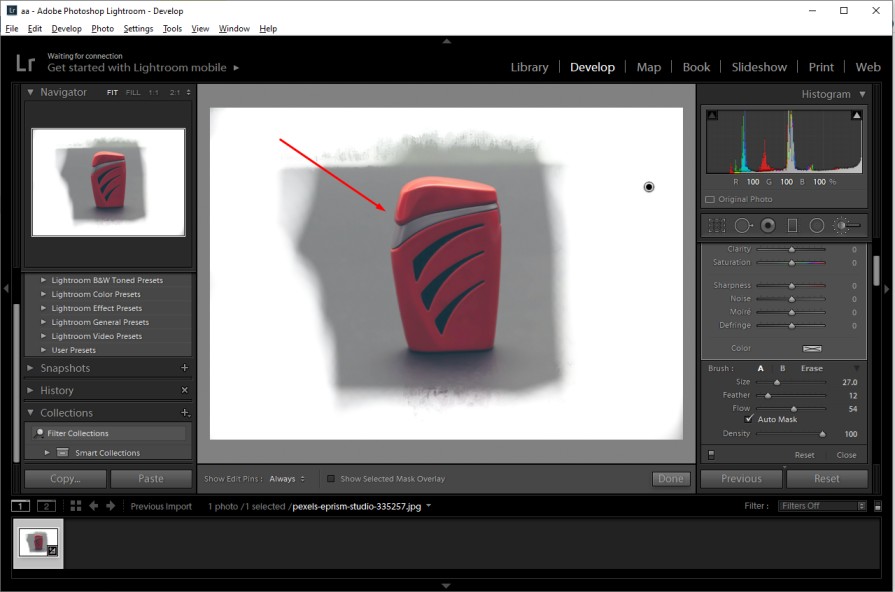
In this method, you have to erase the background from the outer portion of the object. When you get closer to the object, you have to zoom in on the background to remove the background accurately.
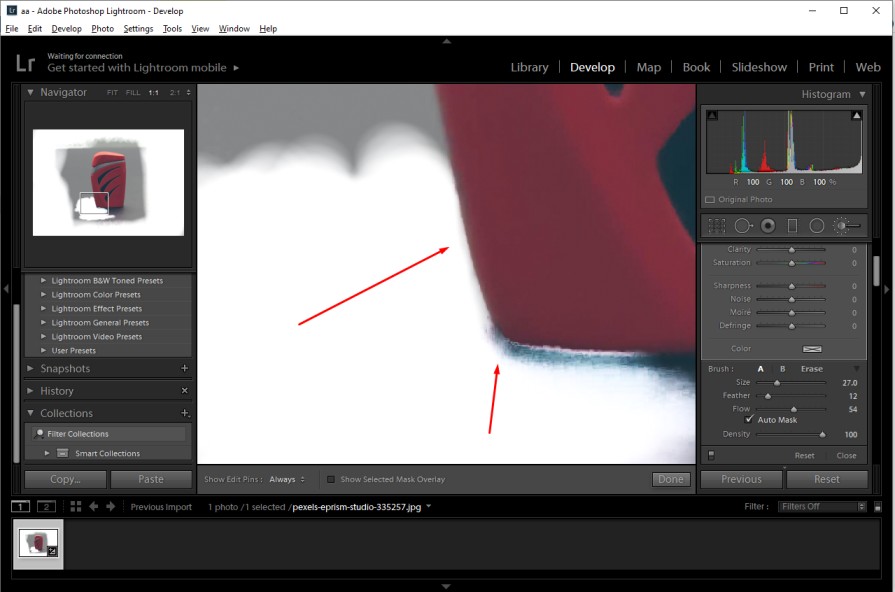
If you apply the brush tool within the object by mistake, you can apply the erase option from the right side to undo it. You have to be careful while removing the background from the edge of the object.
Here’s The Final Look After Background Removal in Lightroom
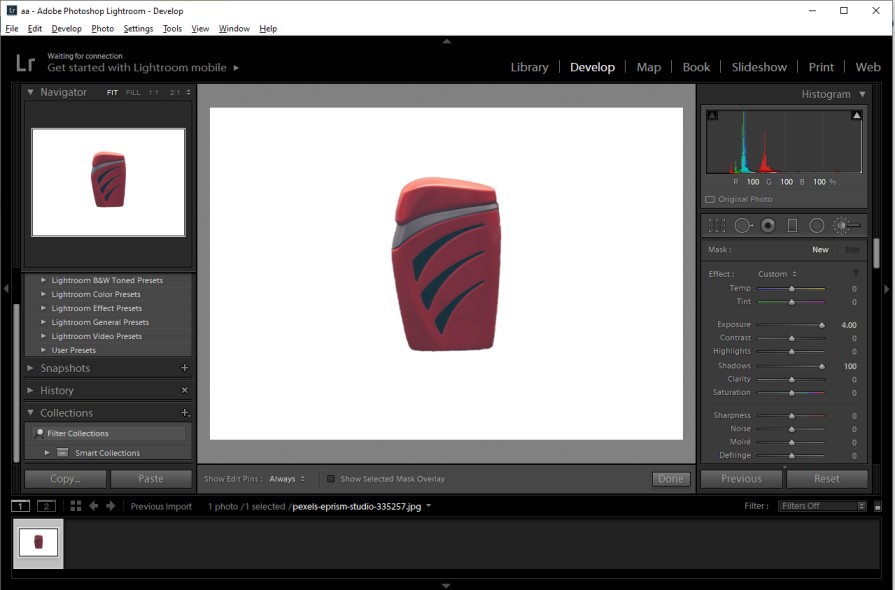
Step 4: Export your image
At this stage, the image is ready for saving. You just need to click on the “File” option from the top and select Export from the menu.
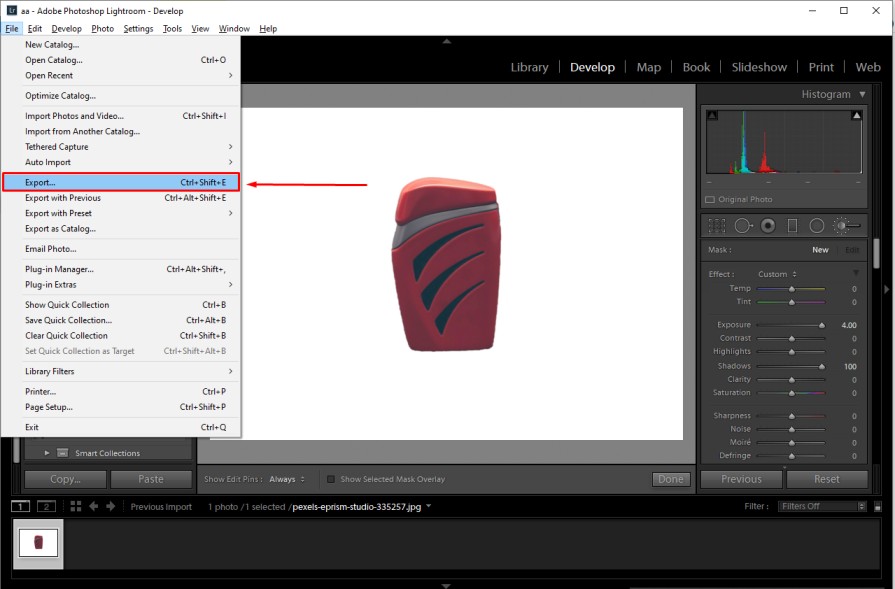
Then, you have to set the name and location of the image file. In that method, you can remove the background from any image format including raw images.
3 Tips
- Apply this method when you are working with a simple or medium-complexity object.
- Enable the auto mask option to fix edges while removing the background from the object’s boundary area.
- Lower the feather size so the brush does not interrupt the object while removing the background.
3 Mistakes
- Do not forget to increase the exposure before you start applying the brush tool.
- Do not increase the brush size too much while working on the boundary line.
- Do not apply the brush tool to remove a busy background. It will be better to use Photoshop.
Conclusion
As Lightroom has no dedicated tools to remove the background, it’s a bit tricky to get rid of an unsuitable background using Lightroom. Thankfully, you can do it by following the above Lightroom background removal tutorial.
If you want to remove the background for product photos, our recommendation will be to use Photoshop for a better result. Do you have bulk images needed to remove the background?
Feel free to contact us to get the best quality Background Removal Services. We are confident with our top quality that’s why we provide a 100% money-back guarantee.
FAQ’s
Can you remove background objects in Lightroom?
Yes, using the healing brush tool you can remove background objects in Lightroom.
Can you change the background of a photo in Lightroom?
Using the mask option you can change the background of a photo in Lightroom. However, the process is not very convenient compared to Adobe Photoshop.
Can I refine my selection for better results in Lightroom?
You can use the Auto Mask option while selecting the background. But you can’t refine the selection after completing the selection.
Can Lightroom help me remove complex backgrounds like hair or detailed objects?
In Lightroom, you may struggle to select and remove complex backgrounds. For such cases, you should consider using Adobe Photoshop for more advanced editing.
How can i remove the background in Lightroom Mobile?
On Lightroom Mobile, use the “Selective Edit” tool to select the subject. Then, apply adjustments to the selected area. You can also use a solid color background.
Is there a way to save my edited image with a transparent background?
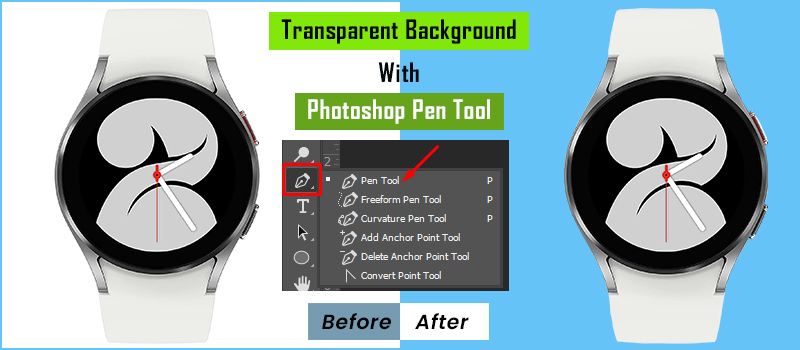
No, you cannot make the background transparent in Lightroom. It does not support transparent backgrounds. To save a transparent background, you have to export your image as a PNG in Adobe Photoshop.
Can i undo background removal if i make a mistake?
Yes, Lightroom offers the “Undo” feature. From the “history” panel on the left side, you can go back to any previous steps.
