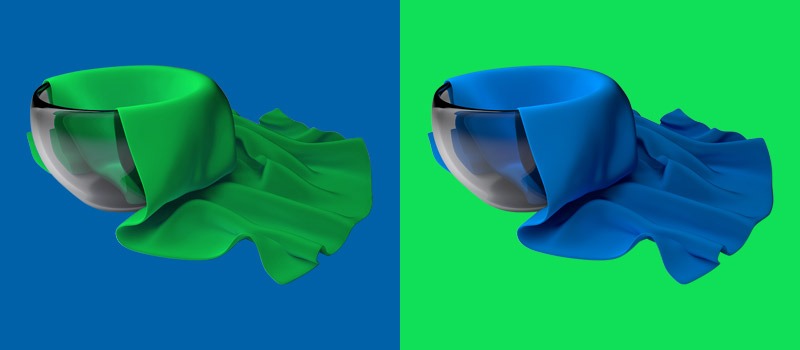
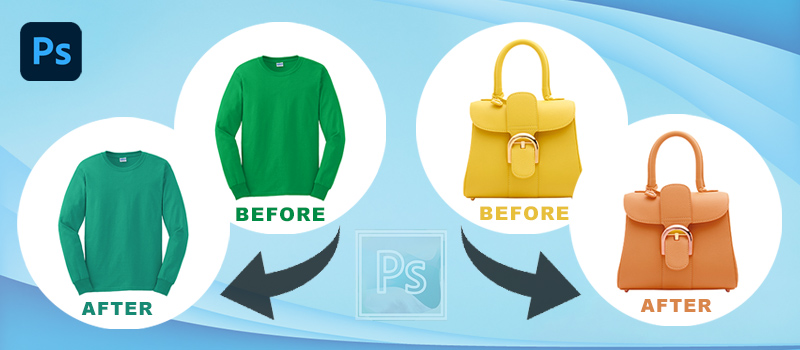
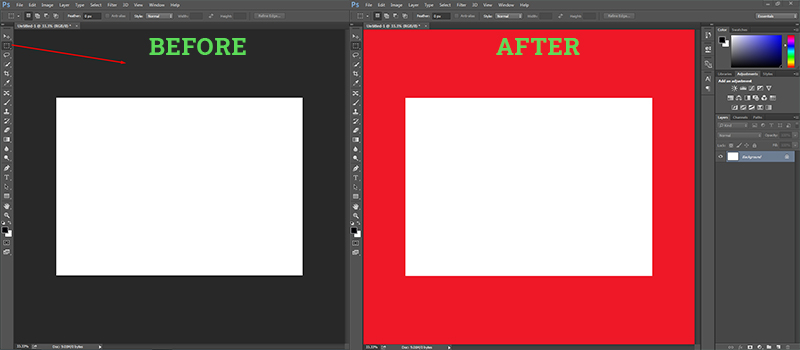
While photo editing, all of us feel the need to remove colors at some points. Often, beginner editors assume that it’s too difficult to remove color in Photoshop. But if you want to remove a specific color, it’s literally absolutely easy.
You just need to learn the proper technique. In this Photoshop tutorial, you will learn how to remove one color in Photoshop. After reading this article, you can easily remove specific colors from your photos within no time.
If you don’t want to do it yourself, you can try Color Correction Service to let professional designers take care of your images. However, we are going to reveal the 3 best Photoshop techniques to remove specific colors. Here’s the first one.
Method 1: How to Remove One Color in Photoshop with Color Range
Step 1: Open your picture to remove one color
In the beginning, you have to open your image in Photoshop that you want to remove one color. We are going to use this image for this tutorial.

Then, we have to duplicate the image. This is a simple step. You just need to right-click on the layer and you will get this option.

After that, you have to disable the previous layer and select the copied layer. Click on the eye icon beside the layer to disable it.
Step 2: Select Color Range
The color range is a less-known selection method. Using this method, you can select an object based on its color. You can get it from here.
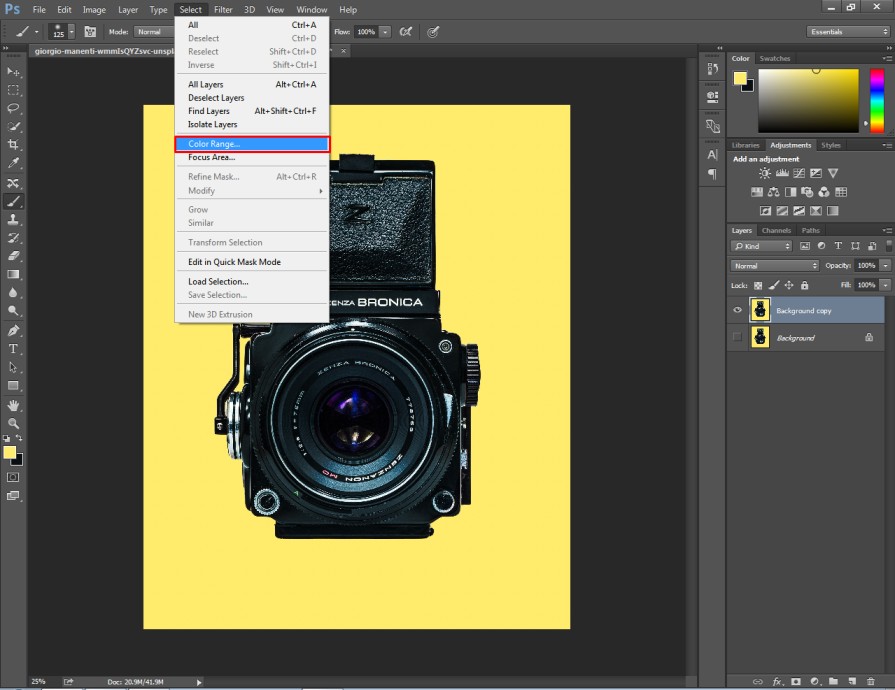
It will take you to an interface like this one.
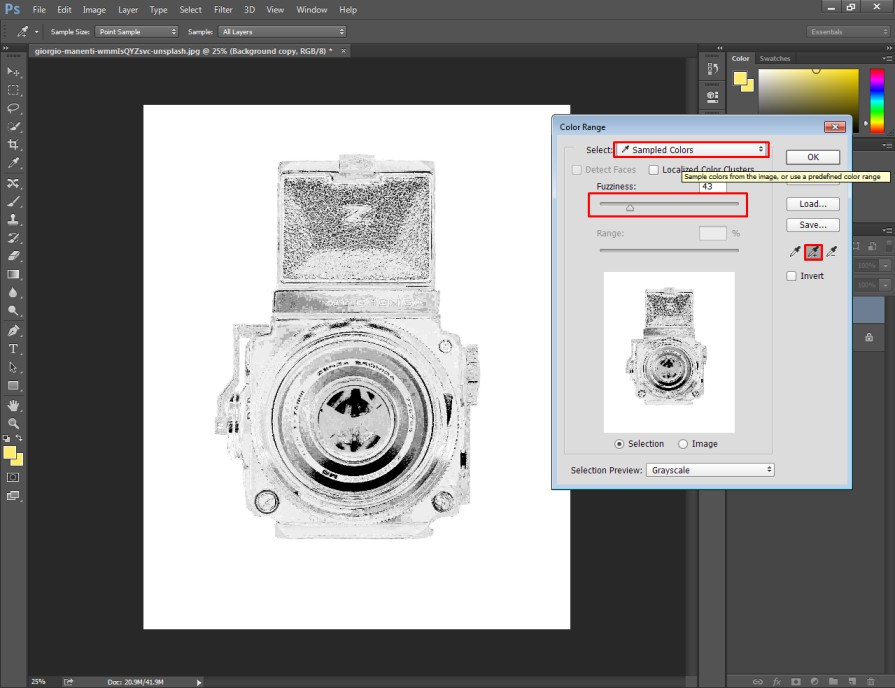
As you can see, we have to select the sampled color option from the top. Then, you have to click on the eye-dropper option from the right side.
Step 3: Select One Color
In this step, you need to click on the color that you want to select and adjust the fuzziness.
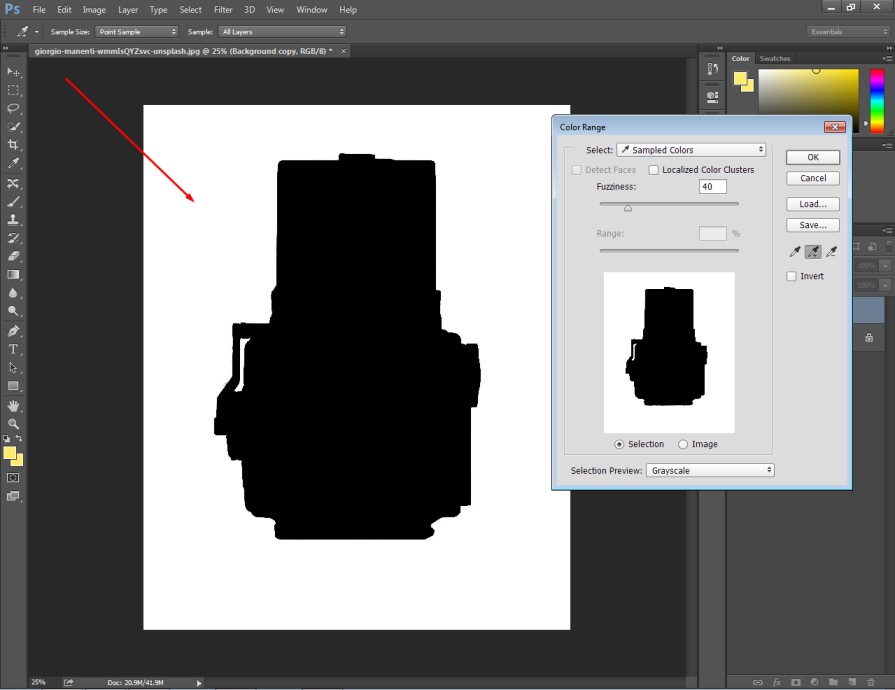
You need to make your image look like the above one. The color that you want to remove should be white and the remaining objects should be selected as black.
Step 4: Remove One Color
After that, press the Enter key and the single color will be selected accurately. Now, you just need to press the delete key from your keyboard.
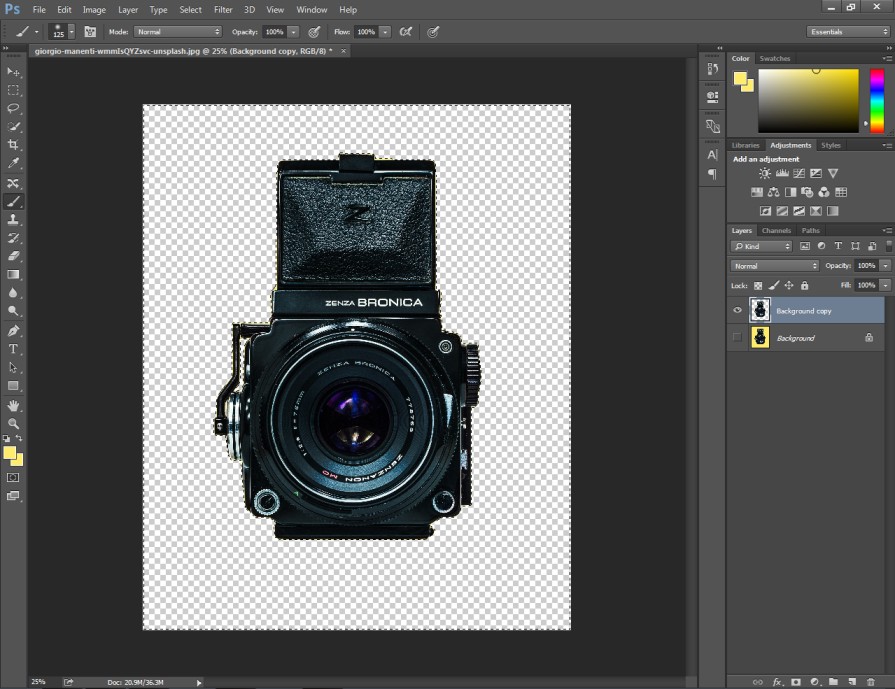
It will remove the selected color from your picture. Like the above picture, you will get your photo without having that one color that you have wanted to remove. Finally, you can save the image from the file option located at the top.
In that method, you will get a transparent background as a replacement for your selected color. Do you want to try something different? You can remove one color in Photoshop to replace it with another color. Here’s the process of doing that easily.
Method 2: How to Remove One Color in Photoshop & Replace with Another
Step 1: Open your image to remove & replace the color
Just like the previous method, you have to open the image that you want to remove a specific color.

For this method, we are going to remove the green background and replace it with another color.
Step 2: Choose selective color
Using the selective color option, you can modify one color without changing anything else. The best part is, you don’t have to make any selection for that. Here’s the option for that.
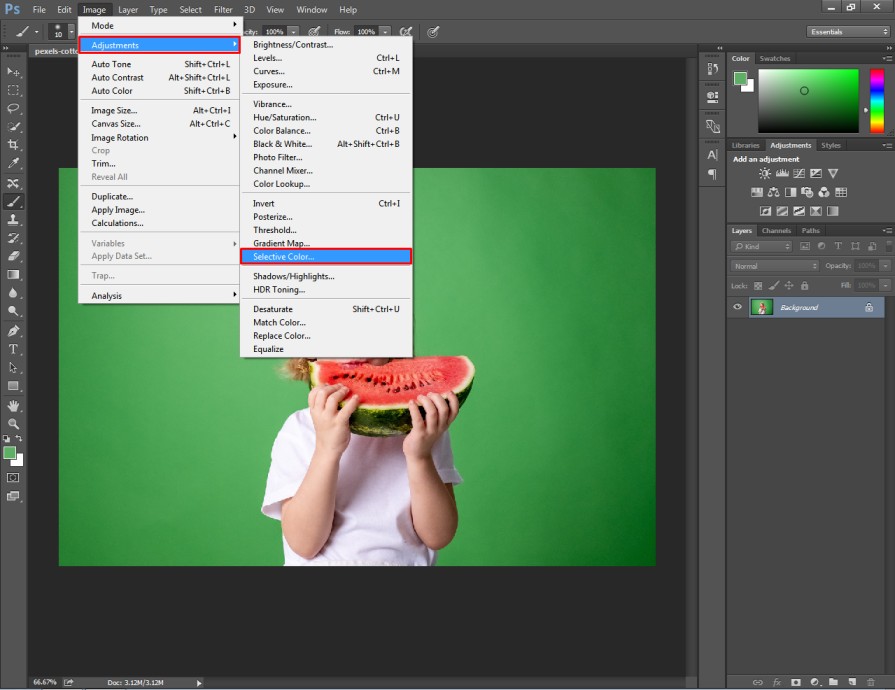
Next to that, you will get a list of all basic colors. You just need to choose the color that you want to remove from your image.

For this image, we are going to choose the green color.
Step 3: Replace the selective color
In this step, we are going to modify the selected color. You will get Cyan, Magenta, Yellow, and Black options to modify the color. Here you can see the list.

You have to change the slider of those options to replace the selected color. You will get lots of colors for the selected area while moving the sliders. When you are okay with the new color, simply press the “Enter” key.

Now, we have removed the previous green color background and replaced the portion with a new color. Go to the file option to save the image after making a color change.
Do you want to remove one color to keep it completely blank? Our third color removal method will assist you with that. Also, this is going to be the easiest method to follow in this tutorial.
Method 3: How to Remove One Color in Photoshop with Magic Eraser Tool
Step 1: Open the picture & Unlock the background layer
In this method, we are going to remove the white color in Photoshop without using any selection tools. Here’s the picture to remove the white color.

You have to click on this icon to unlock the layer.

It enables transparency for the layer. Therefore, you can keep the background transparent.
Step 2: Select Magic Eraser Tool
You have to click on the Eraser tool option to get the magic Eraser tool. You can easily find it here.

After that, you just need to click on the color that you want to remove. It will remove the color of that area automatically. Here you can see the sample.
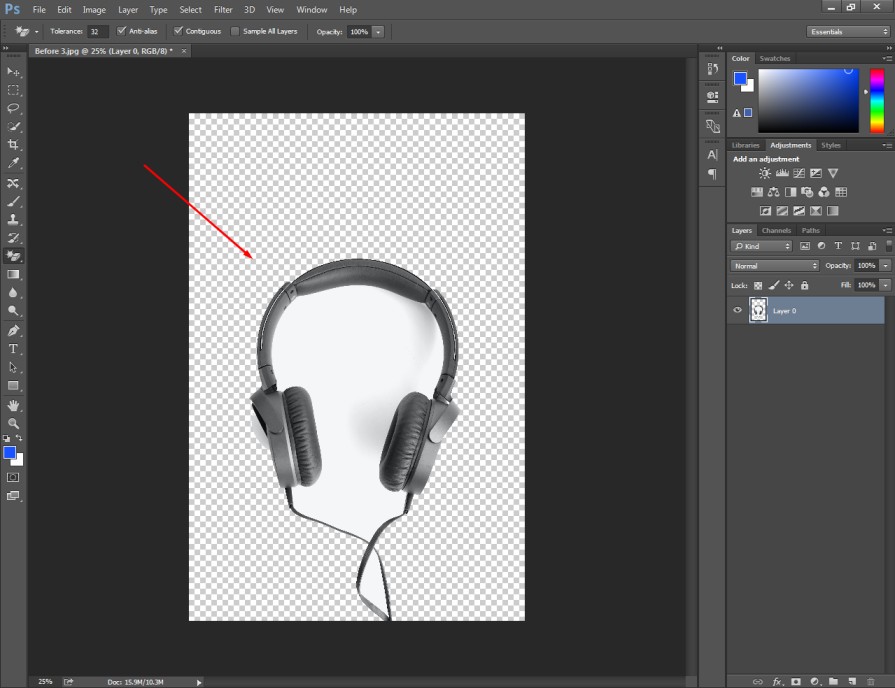
After the first click, there might be still some portions available that you want to remove. You have to zoom in on your image and click on those areas.

Then, you will get your image without having that one color.
Step 3: Reposition the object
In the final step, you just need to click on the arrow key located at the top of the left side.

It will allow you to move the object and place it in a suitable place. We are going to position the object at the center.

You have to press the Enter key to apply the changes. That’s it. The picture is ready now without any white color. You can also use this trick to the color that you want to eliminate.
3 Tips To Follow
- Use the color range option when there are soft edges.
- Use the magic eraser tool when there are hard edges.
- Use selective color when you don’t want to keep the background transparent.
3 Mistakes To Avoid
- Don’t use the magic eraser tools for the busy background.
- Don’t use the color range option when the object and background have similar color.
- Don’t save the image without proper object placement.
Final Thoughts
Now, you are familiar with the 3 best methods of how to remove one color in Photoshop. You can choose any of those methods according to the object in your image. Moreover, we have shared some bonus tips so that your editing can produce the best result.
Alongside this, you may not have enough time to edit bulk photos. In that case, you can choose Clipping Way to get your Image Editing done professionally.
FAQ’s
Is it possible to remove color without affecting the rest of the image?
Yes, you need to select that specific color to remove it without affecting any other areas of your picture. You can use the color range tool to do that.
Which is the quickest method to remove one color in Photoshop?
Using the Magic Eraser Tool is the fastest option to remove one color from an image. Though, you can’t use it for busy backgrounds.
Can i change one color in Photoshop using the hue and saturation feature?
No, hue and saturation will affect the entire color of your image. You need to make a selection based on colors to change it separately.


