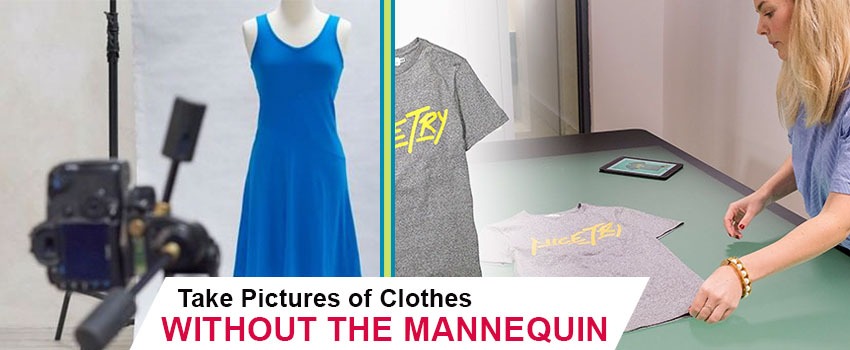
More often, online customers decide to purchase an item when they get attracted to the product photo. Particularly, product photos become the key factor for clothing item sellers.
Everyone in the market is trying their best to present their garments in a unique way. Using a mannequin for taking pictures isn’t the best option anymore. It doesn’t attract buyers anymore.
I’ve got a better idea for you that works perfectly. Through this article, you will learn how to take pictures of clothes without a mannequin. You can get that effect with Ghost Mannequin Service. This is going to be beneficial for you.
Are you wondering why? You can inspire more online shoppers without spending extra money on mannequins. That would be excellent, won’t it?
Allow me to explain it.
How to Take Pictures of Clothes without Mannequin?
According to the stats, nearly 77% of online shoppers have admitted that they give priority to image quality while buying stuff online. If you are still using mannequins for your clothing photography, you are letting some opportunities go.
So, how should you proceed? Well, we are going to follow the photography conventional flat lay process to take pictures of clothes without a mannequin.
Mannequin Photography Vs without Mannequin Photography
Before we jump forward, I would like to let you know about the pros and cons of clothing photography without using any mannequin. That will clarify whether you should adopt the Ghost Mannequin technique or not.
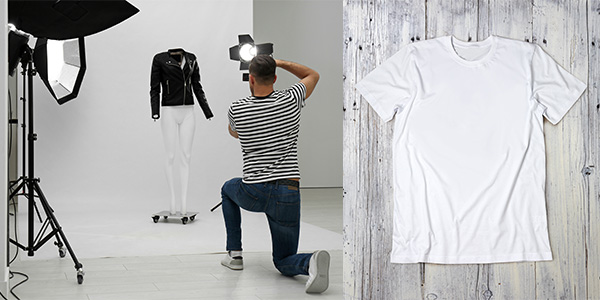
Pros and Cons of without Mannequin
Pros
- Much cheaper than real-life models and mannequin photography.
- Needs a simple photography setup.
- Many different ways to style clothes.
- Quick and simple to style.
Cons
- Requires additional time spent in styling.
- Sometimes Garment Items can look unprofessional or distorted and laid flat if not styled right way.
- A series of the same style is a problem
Pros and Cons of with Mannequin
Pros
- Best for showing off features like inner linings and cuffs.
- It helps customers to visualize as if the cloth is worn.
- Many variations in styling.
- Similar to real-life model photography.
Cons
- Not good for larger items like long dresses.
- It needs post-production and image photo editing.
- Collecting a wider range of mannequins can be expensive and problematic.
- Fitting the mannequins properly is a problem.
How to Photograph Clothing without A Model?
There are several ways to photograph clothing without using any model or mannequin. However, through this article, you will get to know about the most fascinating method.
It’s known as the postprocess after flat lay photography. At this point, allow me to introduce you to the process.
Know More: How to Remove Clothing Wrinkles in Photoshop
Photography Conventional Flat Lay Process
First of all, let me tell you the basics of this process. It indicates shooting clothing items or garments products by keeping the camera parallel. You need to keep the product grounded. That’s why it’s called Flat Lay photography.
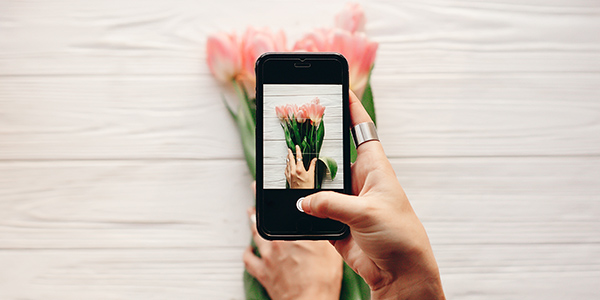
The best part is you don’t have to spend much on studio setup. Getting excited to know about this photography process in detail? Let me show you how to take pictures without a mannequin using the conventional flat lay process.
How to Take Pictures without A Mannequin ? Flat Lay Photography
Step 1- Basic photography planning and preparation
You have to start with planning and preparing your products. If you don’t prepare the product properly, the photography won’t look appealing. You ought to plan about the way you would like to decorate your clothing items.
First of all, you have to iron the product if there’s any sort of wrinkles in the cloth. Also, there might be any particular tag that you don’t want to reveal. In that case, you can use tape to hide it.
Also, you can keep the shape defined by using pins and clips. Have you gone through all of those?
Fine, you’re ready to jump to the next step.
Step 2 – Prepare your clothing photography equipment
In the second step, you have to concentrate on preparing your photography equipment. You can’t rely only on the camera When it comes to clothing photography.
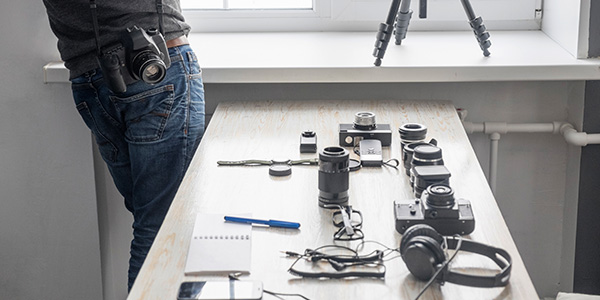
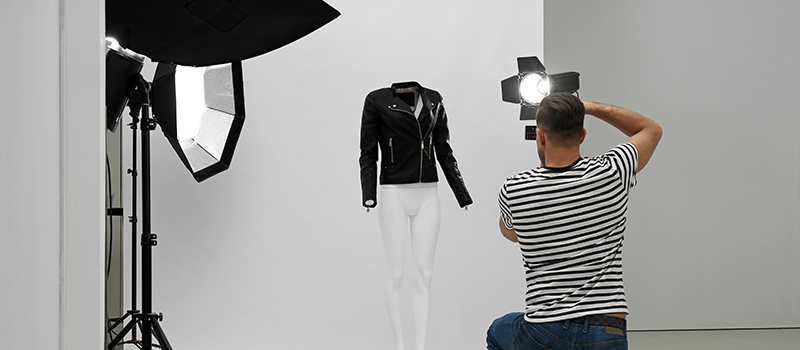
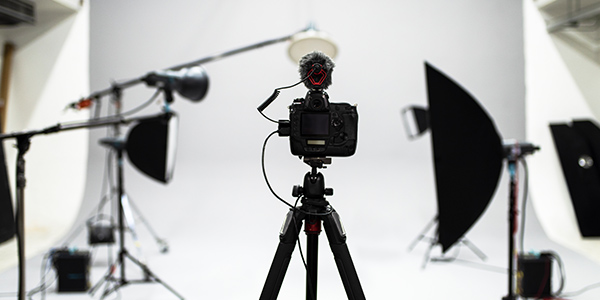
There is also some necessary equipment that you ought to prepare such as Tripod, light source, backdrop, boxes, and other related objects to make the photography more attractive.
A key point to note here, you should not keep such objects in the frame that may confuse viewers.
Step 3- Prepare your clothing products
This is the step that can be the ultimate quality deciding factor. You need to ensure that the product you are shooting doesn’t have any spots or stains.
Also, there shouldn’t be unexpected stitching marks. Besides, the collar, neck, and sleeve area should be in decent shape. If the sleeve seems to be more appealing in folded, you can keep it to that shape.
You can also lay the clothing item flat in any specific shape. In that case, you can utilize transparent tape to keep your expected shape.
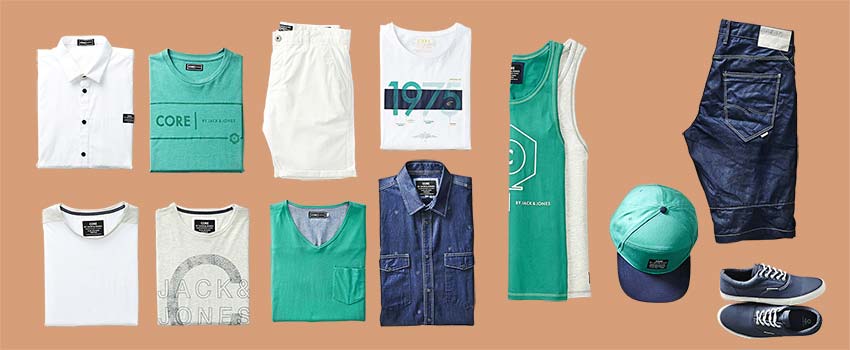
Step 4- Set up your photography studio
In the 4th step, you have to ensure that you have set up the photography studio properly. You can start with setting up the background. Do you want to use the floor? In that case, you have to clean up that area.
If you want to use a table, position the table according to the planning. After that, you have to place your light sources near the expected frame. Are you okay with that? Let’s move to the next step.
Step 5- Check your camera settings
Last but not the least; you should not forget to recheck your camera settings. Most importantly, you should adjust the aperture, shutter speed, and ISO sensitivity to take a better picture of your clothing product without a mannequin.
Some beginner photographers prefer to capture with auto mode. In auto mode, you won’t get the actual product color. Clothing photographers should take more focused shots while capturing clothing items.
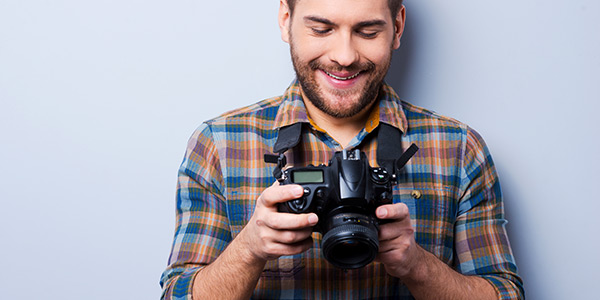
In that case, a high aperture will be a better option to go such as F/11. You can keep the shutter speed around 1/125. Sometimes, photographers get confused while setting the ISO.
Let me inform you that you can’t capture with a specific ISO sensitivity all the time. Depending on the density of the light you can adjust it. Basically, professional clothing photographers set the ISO from 400 to 800 to take pictures of clothes at studio.
Step 6- Take pictures without a mannequin
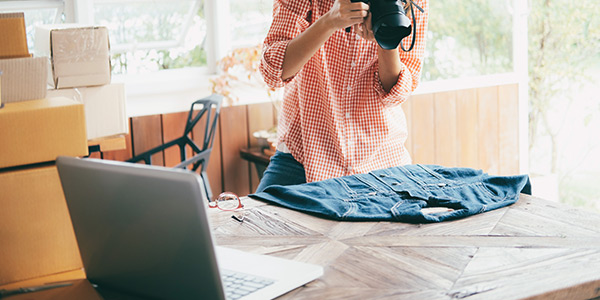
This is the final step. You need to put your camera on the tripod and place the clothing item on the floor or table. Place your light source in a place that looks neutral. The actual color of your dress should be portrayed in the picture.
If you find that the color of artificial light is not suitable for a dress, you can move it near the window to capture it with natural light. There is no need to keep any unnecessary objects in the frame.
Bonus Tip: Edit Clothing Photography
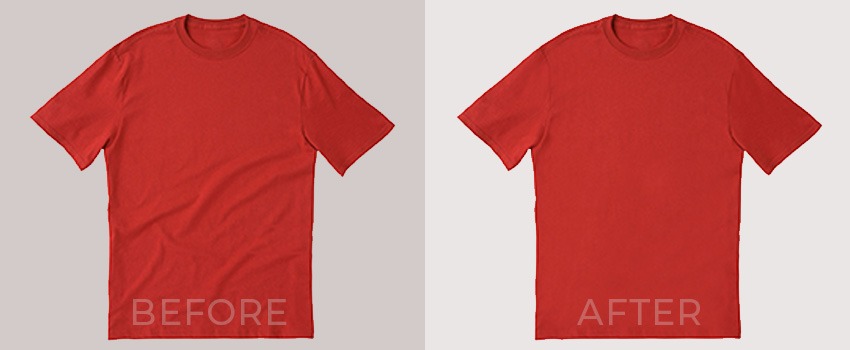
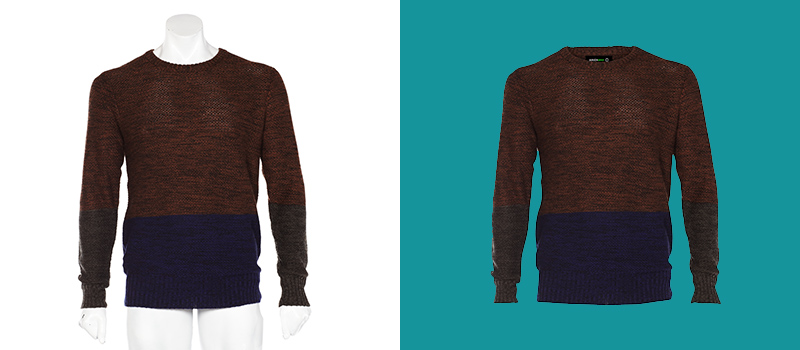
That’s a bonus tip for you that can assist you to get more customers. To achieve the best possible look for your clothing product photos, you can take Ghost Mannequin by Clipping Way. It will inspire more visitors to turn out to be your customers.
Also, the price is very reasonable. This is going to be the best deal for clothing sellers. Let’s try the service.Now, I am going to tell you about taking pictures of clothes to sell online.
How To Take Pictures Of Clothes To Sell Online?
You need to be extra careful while taking product’s photos to sell online. First thing first, you have to choose a suitable background for displaying your clothes. Some sellers tend to use a busy background that doesn’t seem attractive at all.
Despite that, you can use pure white background or solid color background that represents your clothes’ actual color beautifully.After setting a proper background, you can concentrate on positioning your dresses.
You should iron the dress to remove wrinkles and keep it in idle shape. After that, you can shoot your clothing dresses according to your expected style. At the very first, you need to capture the dress from the front site.
After that, change the angle and showcase your clothing product from the back and side. After capturing photos, you should definitely edit your photos by professional designers. In that case, Clipping Way will be the best choice.
Would you like to take photos at home without going to the studio? We’ve got some tips for you.
How to Take Pictures of Clothes at Home?
Clothing pictures can be taken at home professionally if you have the right equipment and proper skill. Thinking about which type of equipment would you need?
Here’s the list.
- Camera
- Lens
- Tripod
- Light
- Suitable Background
Have got that equipment? Well, you can proceed forward. You can start with placing your clothing item in the background. You can keep your clothing item on the floor or a table if the surface color seems suitable.
Next to that, you have to set up your camera and lights. As a newbie, you may find it difficult to position lights properly. You need to keep in mind that, keep your light source to a decent distance and try to minimize unwanted shadows by changing light angles.
Then, you can take pictures of clothes at home without using a mannequin. After taking pictures, you ought to do the post-production work. That will make your clothing photography ready to upload online.
How to Photograph Clothes on A Hanger?
It’s a pretty popular practice to use a hanger for clothing photography. The advantage of using a hanger is you don’t have to pay for expensive mannequins. However, you can photograph clothes on a hanger by following 3 simple steps. Permit me to show you how to do that.
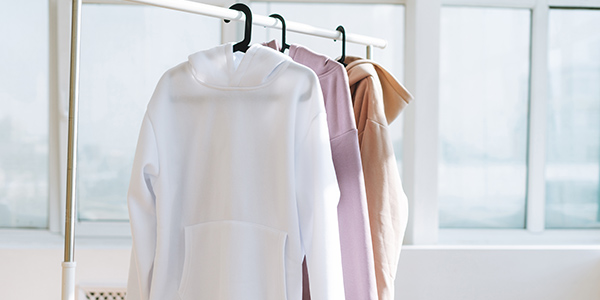
Step 1: Put clothes on a hanger
First of all, you need to put your clothes on a Hanger and hang it on the wall with the help of a rope or pin. You should keep the clothes in straight shape. If there are any wrinkles, fix them before photoshoot.
Step 2: Capture photos
In the second step, you have to set up light sources on the right and left sides. if you have a single light, place it in a position that doesn’t produce excess shadows. You can also use transparent tape to keep the clothing product in proper shape.
Step 3: Do post production work
Last but not the least; without doing post-production work, you won’t be able to achieve a catchy look for your clothing item. Ghost mannequin service will be the best photo editing method to apply for clothing photography.
Final Words
Now, you have got the idea about mannequin how to take pictures of clothes without it. Are you excited to apply this method to your next photoshoot? Don’t forget to apply neck joint service to get an even better response from viewers.
Do you have any queries to know about clothing photography? Feel free to contact us anytime.
FAQ’s
How can i take pictures without models?
You can use a hanger or follow the flat lay photography method to take pictures without models.
How do you photograph clothes on the floor?
You have to keep the clothes on the floor in a nice shape. Then, set up your camera on a tripod to photograph clothes on the floor.
What is a ghost mannequin?
Ghost mannequin is the method of removing mannequins from a picture to bring a 3d look for clothing photography.
How do you photograph clothes on a hanger?
You need to position your clothes on a hanger while folding the sleeves. Then, put it on a solid color background to photograph the cloth.
How do you take good pictures of hoodies?
Ghost mannequin technique will be the best approach to represent hoodies.
