In Photoshop, wide arrays of options are available to fill our requirements. While working in Photoshop, you may need to draw a table.
Unlike Microsoft Word and Excel, no primary options are available to make a table in Photoshop. But still, we can do that.
It seems that you also want to create a table in Photoshop. Fortunately, one cool trick is available for creating tables in Photoshop.
I am going to reveal that trick through this article. Willing to know about that trick of how to make a table in Photoshop?
After reading that article, you can do it yourself without Outsourcing Photo Editing. Let’s dive into the first trick.
How to Make A Table in Photoshop?
Step 1: Take a blank background
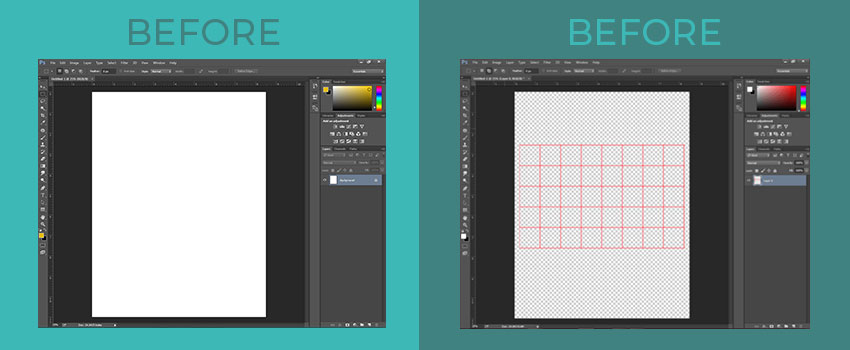
Firstly, you need to open Photoshop and take a blank background. To take a new background, go to “File” and then select “New”. After that, select the document size and background color. I am going to start with the white background.

Now, we are going to work on that document and we will place a table in this white background. Permit me to take you into the 2nd step.
Step 2: Enable “Grid”
Click on the “View” option from the top and select “Show” from the list. Afterward, you will find the “Grid” option. Simply, do left-click on it.

It will enable the “Grid” option in the background. In the next step, we will apply the technique of creating a table in Photoshop. Let’s move into it.
Know More: How to Replace Color in Photoshop | How to make something look Gold in Photoshop
Step 3: Create horizontal lines
Click on the “Brush” tool from the left sidebar.

From the top bar, set its hardness level to 100. Also, set the size of the brush that you prefer. The bigger you set the size, the wider lines you are going to get. I am proceeding with the Red color with a brush size of 10 Px.
Gridlines will assist you to keep the cells of the table aligned. To start creating cells, you have to Left-click on a horizontal line. It will be the starting point.
Then, press “SHIFT” and again left-click on the end of that line. It will create a straight line. Using the same technique, create the vertical line of the table.
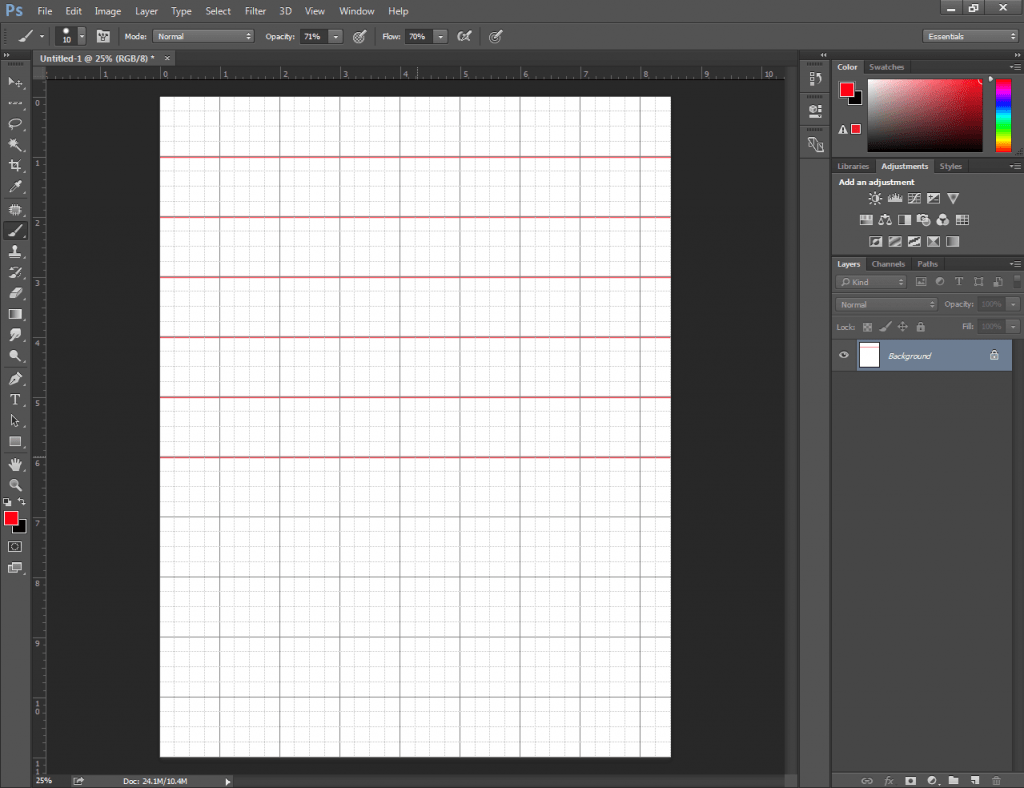
See, I have created six vertical lines. It will make a table with 5 Rows.
Step 4: Create vertical lines
In this step, the techniques are the same as the above step. We just need to create lines following the vertical lines of the table.
Let’s have a look here.
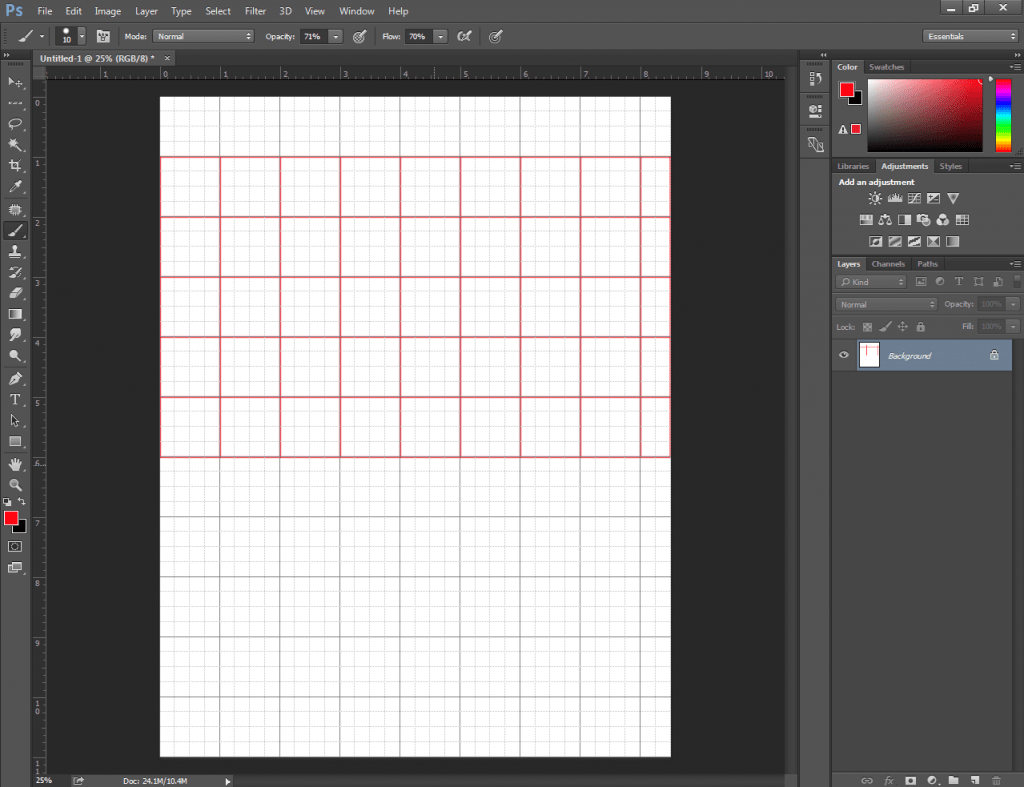
So, we have got a table. Still, the process hasn’t finished yet. Can you guess why? Yes, you have got it right. We need to hide the grid line.
Let’s do it.
Step 5: Hide grid lines
To hide the gridlines, again to the view option and remove the tick from the Grid option. That’s it. Want to have a look at the final view of the table that I have created? Here you go.
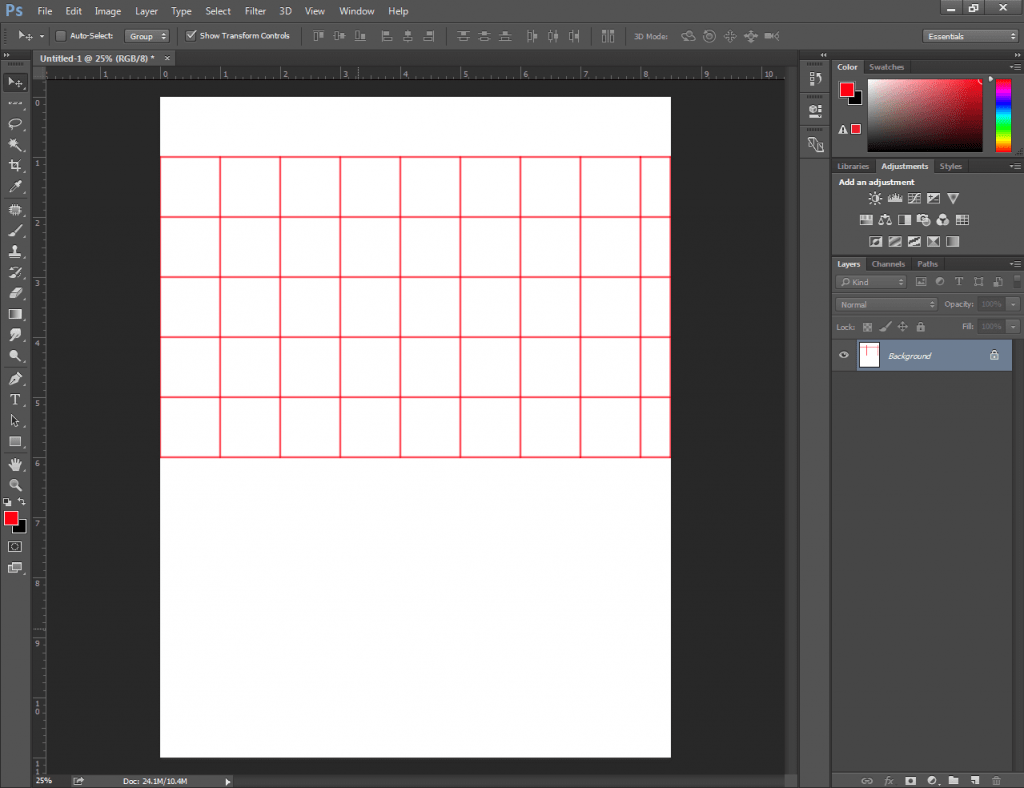
Hopefully, you will also be able to make a table in Photoshop. After creating the tables, you might need to make some adjustments to the table.
Let me introduce you to some excellent hacks that will help you to adjust a table in Photoshop. It will bring more flexibility to your work.
How to Resize A Table in Photoshop?
To resize a table in Photoshop, we have to select the table. Don’t be tense. This isn’t going to be difficult at all. First, select the “Magic Wand tool” from the left side. Zoom in on the table and click on the line of the table. Then, zoom out and press “CTRL + SHIFT + I”.
It will take the selection into the background. Now, hit on the “Delete” button. You can see the result here.
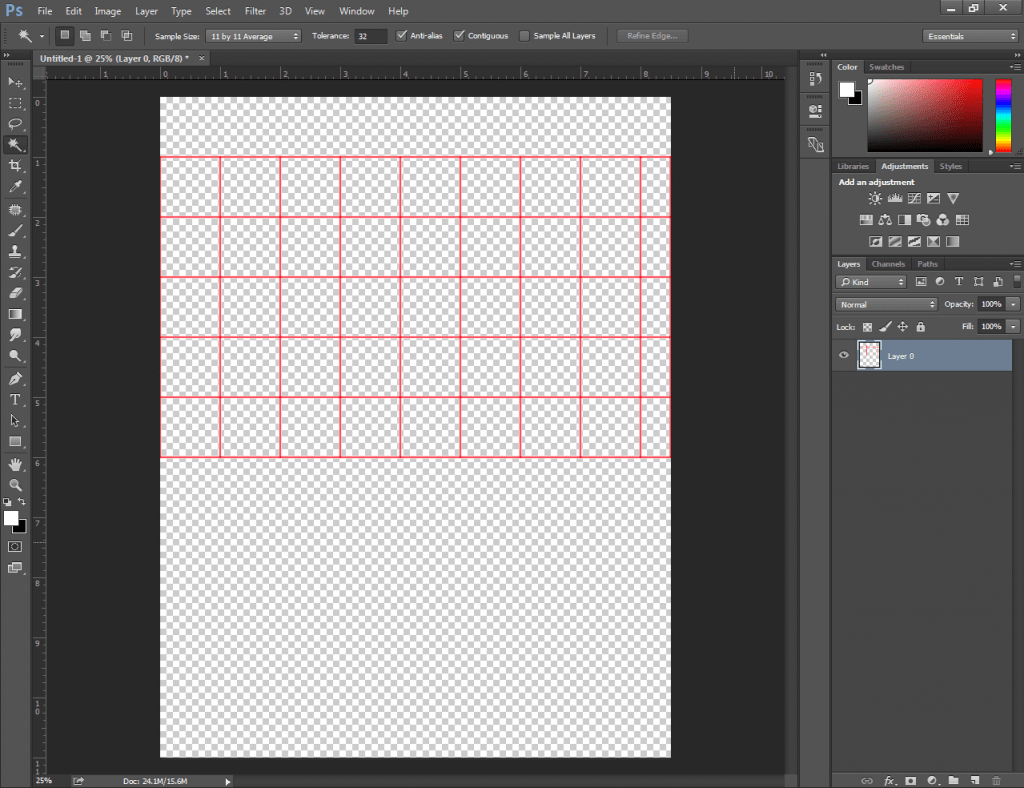
We have got the table on a transparent background. At this point, you can resize the table by dragging it up and down with the help of left-clicking. You can also move the table freely and place it anywhere.
How to Delete Cells of A Table in Photoshop?
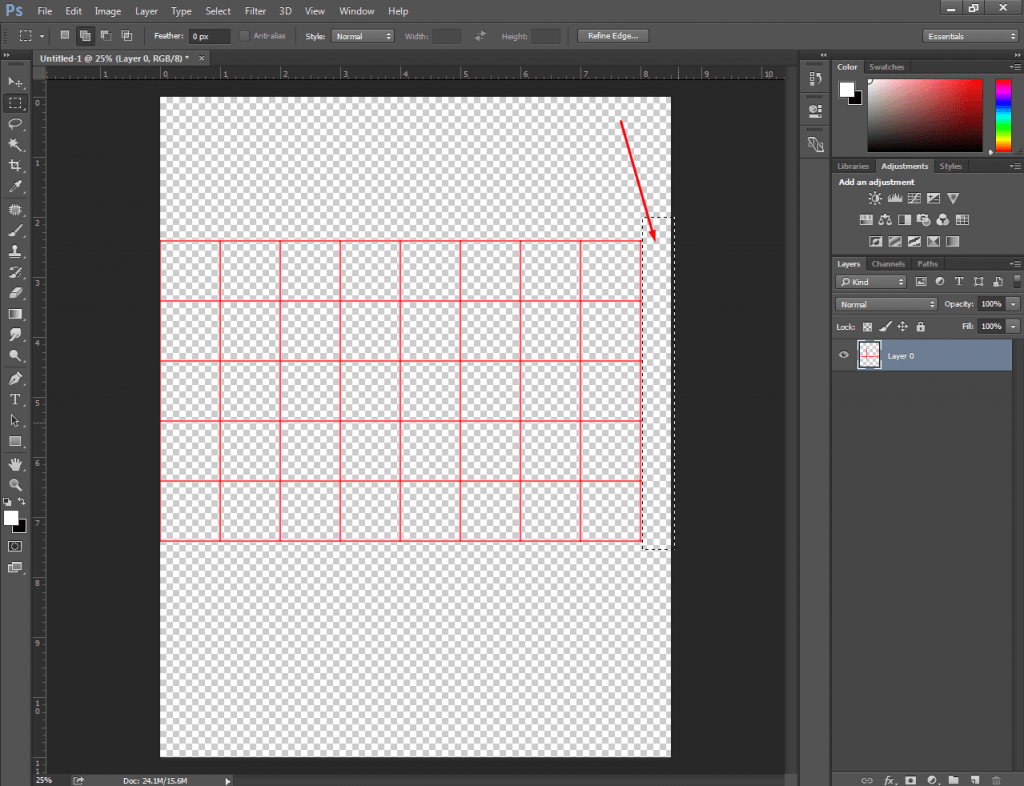
Do you want to remove any cell from the table? As the table is selected, you can do it with ease.
Make a selection of that cell using the “Rectangular Marquee Tool”. After that, press on “Delete” from the keyboard. It will delete that selected area.
Final Words
We are just at the back end of our article about how to make a table in Photoshop. Hopefully, it was essential for you and you have learned the method properly. Stay connected with Clipping Way to get more excellent Photoshop editing tutorials.
Thanks for being here. Wish you all the best.
FAQ’s – I’ve Got Some Questions
Can i create a table in Photoshop?
Yes, you can create a table in Photoshop using the brush tool.
How do i create a table in Photoshop CC 2019?
By following the above method, you can create a table in any version of Photoshop.
What is the shortcut way to resize a table in Photoshop?
You need to enable the free transform option by pressing “CTRL+T”. Then, you will be able to resize the table.
How to change the color of the table in Photoshop?
While choosing the brush tool, set your preferred color. It will change the color of the table.
