Adding Font is one of the most important features available in Photoshop. Sometimes, writing texts in stylish fonts help the visuals in attracting viewers. Lots of fonts are already available in Photoshop by default.
But there are numerous occasions when we can’t find our expected fonts on Photoshop and some of you might look for Outsourcing Photo Editing Service.
So, every Photoshop user must know how to add fonts in Photoshop. What to do in these situations?
Do you know you can manually add fonts in Photoshop CC and other versions? Though this is an easy process, only a few people know about this trick.
Getting eager to know about it? Alright, sit back and relax.
In a few minutes, you are going to know about the process of how to add fonts in Photoshop CC. Without taking any time, let’s begin.
How to Add Fonts in Photoshop cc?
To add fonts in Photoshop, you need to download the font. Let me mention some of the popular websites for downloading fonts.
- Font Squirrel
- F Fonts
- Urban Fonts
- Font Space
- Da Font
From those websites, you can find lots of fonts with different styles. You can download both free and paid fonts from these font downloading websites. Then, you can get your favorite fonts in Photoshop. Let me show you the process step-by-step.
Know More Abstract Photography Ideas for Beginners
Permit me to visit the DA Font website to download free fonts. After landing on the homepage, you will see that interface on your screen.

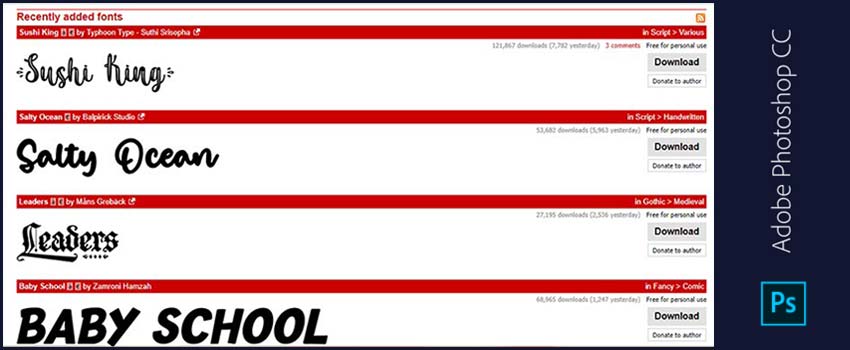
Lots of categories are available at the top. From those categories, you can discover different types of fonts. After scrolling down, you will see the samples of various fonts. These are some recently added fonts on that website.

To get more fonts, click on the “All the new fonts” from below. It will bring more fonts for you (alm</ost 450+ Pages). Then, you have to choose a font and download it.
Let’s download this cool, retro, fancy font named “Skinner Scort”.

Downloading any fonts from that website is too much easy. Simply click on the Download from the right and it will begin downloading.
After downloading, you will find the font in the zip file. Extract the file by using WinRAR or any other zip extractor software. Simply, right-click on the file and choose “Extract here”.

After extracting the fonts, you will find the TTF file of that font.
Know More: Ultimate Amazon Product Photography ( Must See )
Maybe you are thinking that we have got the font, but How to import the font into photoshop? Allow me to give you the answer. Double click on the TTF file and you will find this window.

Now, you have to click on the Install option from the top of the left. It will take only a few seconds to install the font on your computer.
At the time of performing this step, make sure that Photoshop is not opened or running on your computer. After installing the font, open photoshop, and select the text option.

Click on the fonts option from the top and search the font. You will see that the font has been added to your Photoshop CC.

Let’s write something using our newly added font in Photoshop.

From the top, you can change the size and color of the text.
Final Words
That was the procedure. I hope that you have understood the process. It’s so simple that anyone can follow and add fonts in Photoshop.
Now, it is your turn. Open your photoshop CC, download the font that you want to add to your photoshop. After that, import the font into photoshop. I think you have enjoyed that tutorial.
Keep in touch with us to read more tutorials like this. Best wishes for your practice session.


