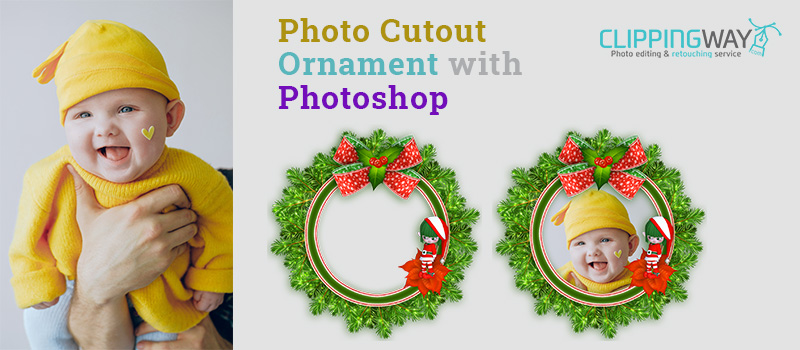
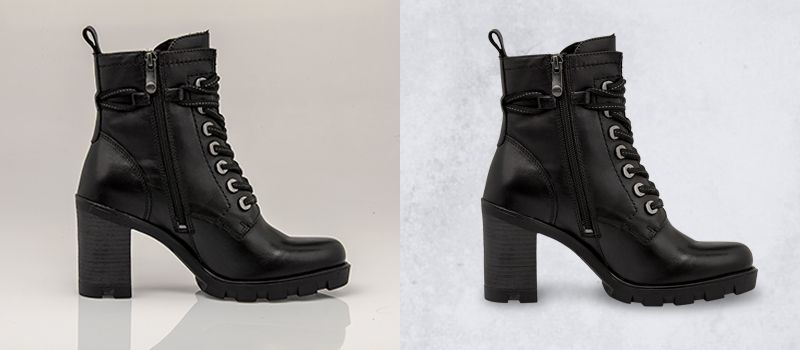
You might be looking to create a photo cutout ornament to showcase your family photos or personal photography collection. Photoshop will be a suitable option to do that. After that, you will be able to create photo cut out Christmas ornaments and other types of photo ornaments.
Through this article, we are going to share the best method to make a photo cutout ornament with Photoshop. To do that, first of all, we need to cut out the ornament with a selection in Photoshop from its regular background.
Then, you can insert any photos to complete the ornament cut out process.
What is A Photo Cutout Ornament?
A photo cutout ornament is a decorative item. Photo Cut Out Service is used for the process. It features a cutout image within wood ornaments or any other ornaments. It’s often used for personalizing gifts. Sometimes people use it to remember special moments.
You can create a photo cut out ornament in Photoshop. It allows you to customize and craft unique ornaments using your photos.
How to Do A Photo Cutout Ornament with Photoshop?
Step 1: Open ornaments image in Photoshop
At the very first, you have to begin by opening your ornaments in Photoshop. It would be better if you captured them in plain background. We are going to proceed with this image.
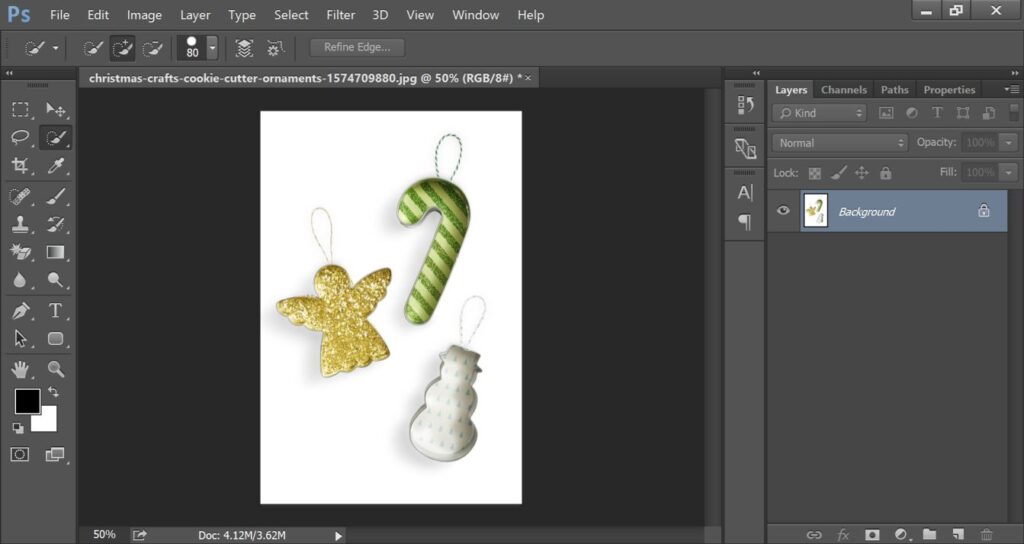
As you can see, we have got a white background for our ornaments image. That’s why it will be easier to remove the background. Now, let’s pick a suitable selection tool.
Step 2: Select the Magic Eraser Tool
For this tutorial, we are going to use the magic eraser tool. As the background color is white, it will be easy to do a photo cutout ornament with Photoshop.
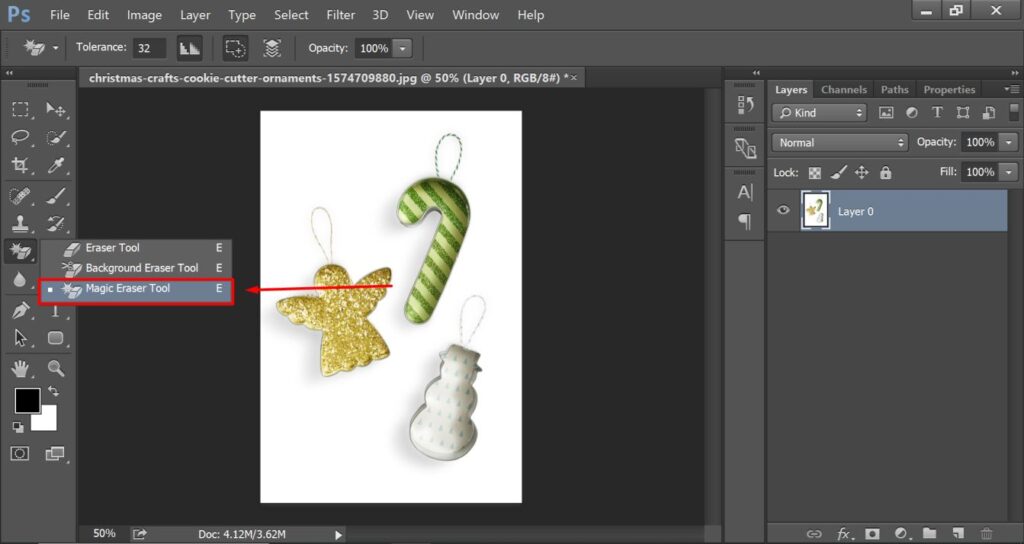
Next to that, you have to click on the background and most of the background will be removed. You can adjust the eraser settings from the above.
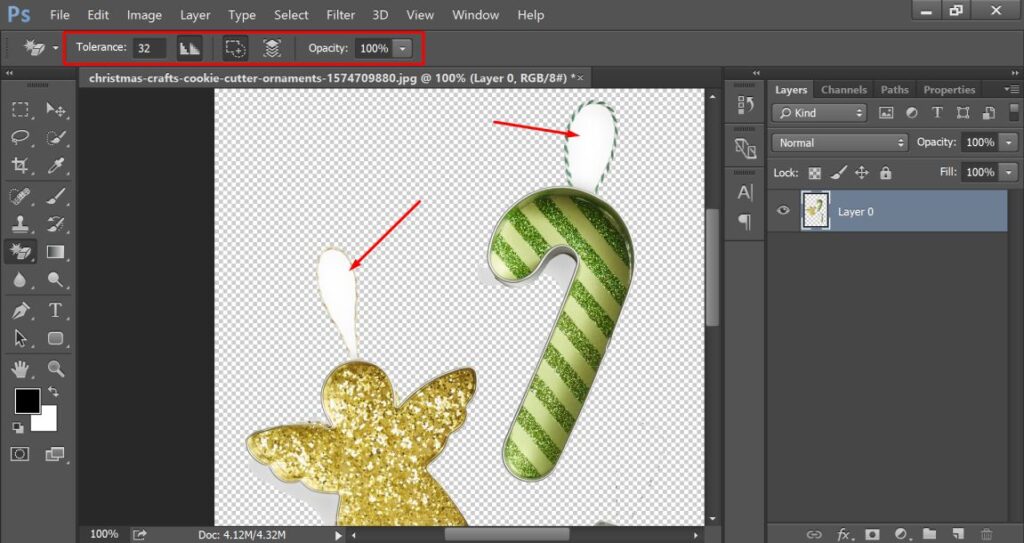
Now, we have to make some adjustments to make the cutout look perfect.
Step 3: Make adjustments to ornaments cut out
You have to zoom in on the image by pressing “CTRL +” together. Then, focus on the area where the background is still visible.
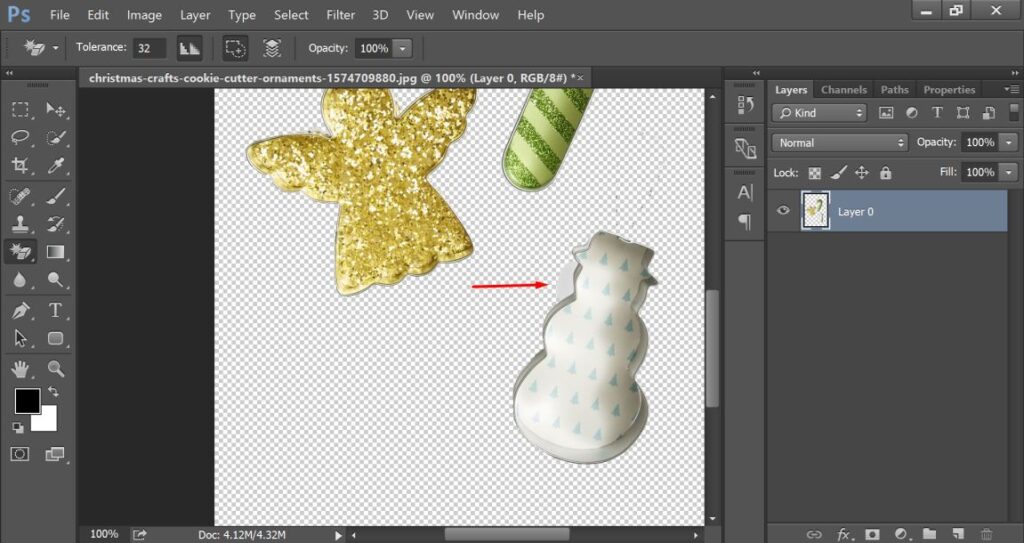
You need to click on those areas once again to remove the remaining background. Then, you can fix the position of the photo cut out ornaments.
Step 4: Fix ornaments position after cut out
At this stage, you can change the position of the ornament with the assistance of the arrow key. You will get the key from here.
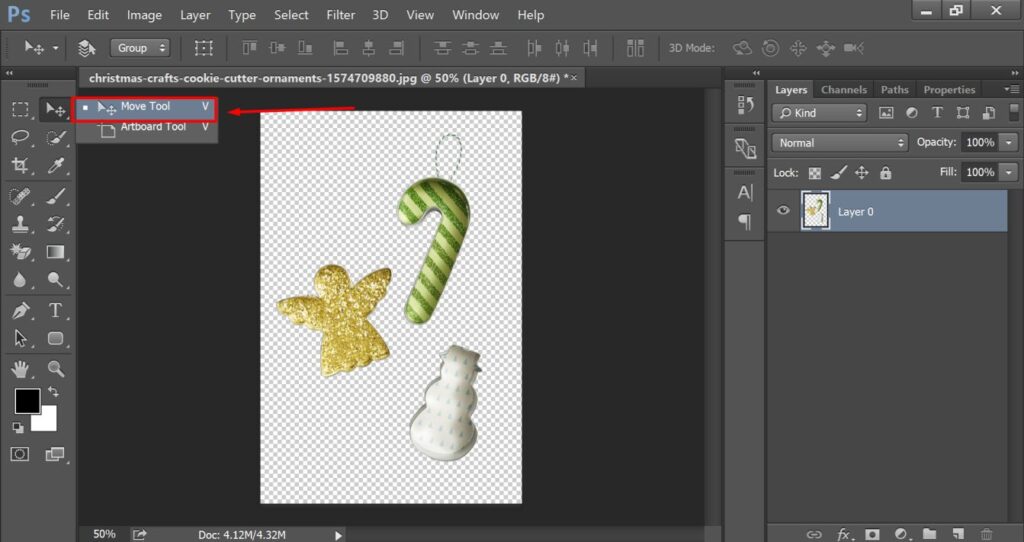
To move them individually, you need to select the ornaments using the rectangular marquee tool. You will get the tool beside the arrow key. Here you can see some adjustment samples.
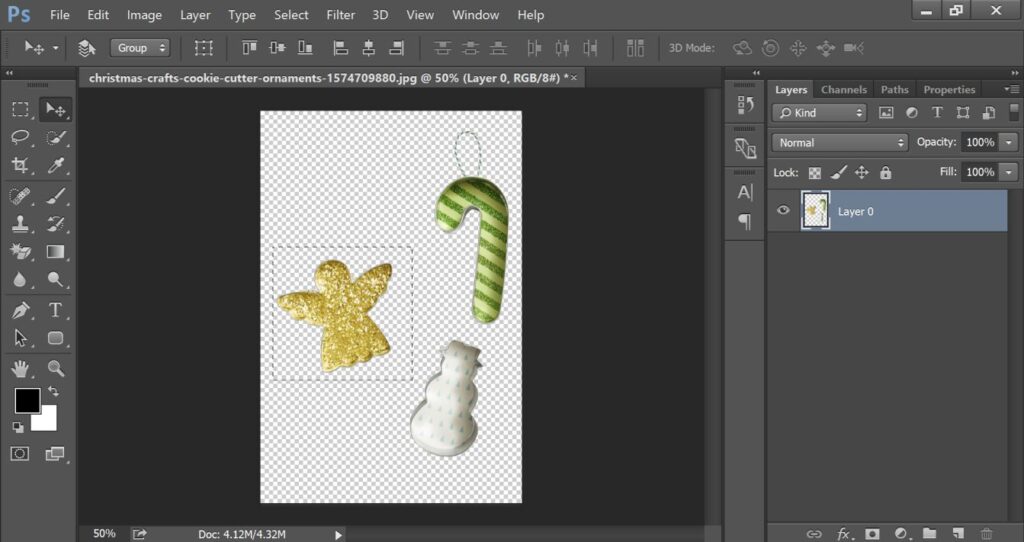
You have to press “CTRL + T” to enable the free transform option to change the angle. You have to press the SHIFT Key while resizing to keep the shape static. Here’s the final look after making all the required adjustments.
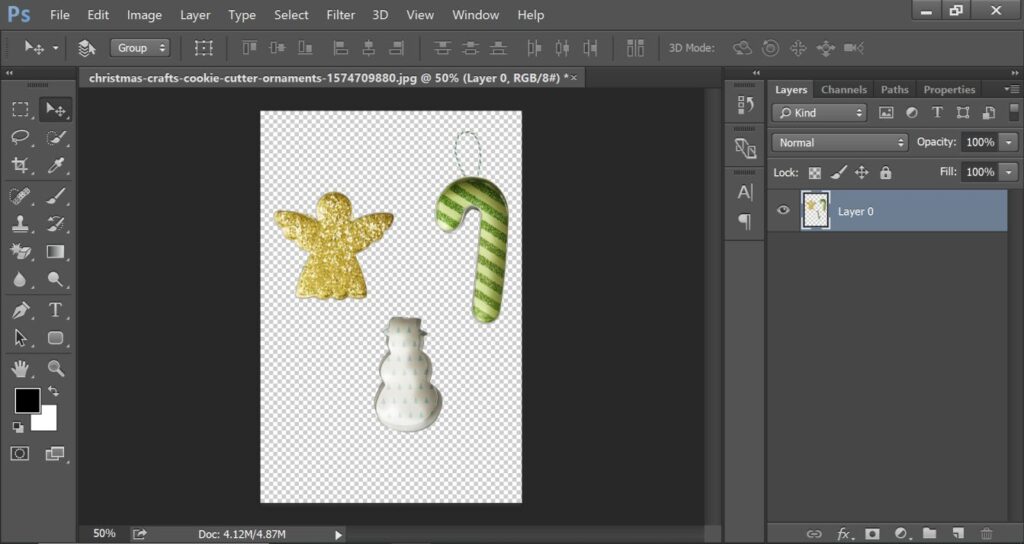
By following the above process, you can also do photo cutout ornament with Photoshop. Now, it’s time to insert your photograph within the photo cut out Christmas ornaments. You just need to follow the below process.
How to Create Photo Cut Out Christmas Ornaments?
Step 1: Open ornaments frame in Photoshop
First of all, you have to open the ornament frame that you are going to work on to insert your album. For this tutorial, we are going to work on this photo frame.
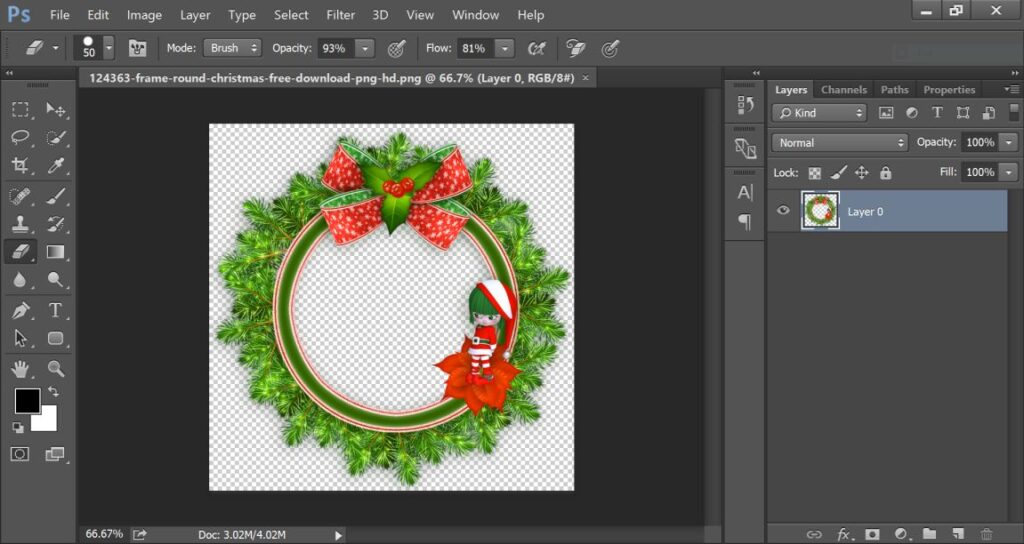
Now, we have to define the area to insert the photo album for Photo cut-out ornaments.
Step 2: Pick the Elliptical Marquee Tool
At this stage, you have to pick the elliptical marquee tool from the top. You can get it from here.
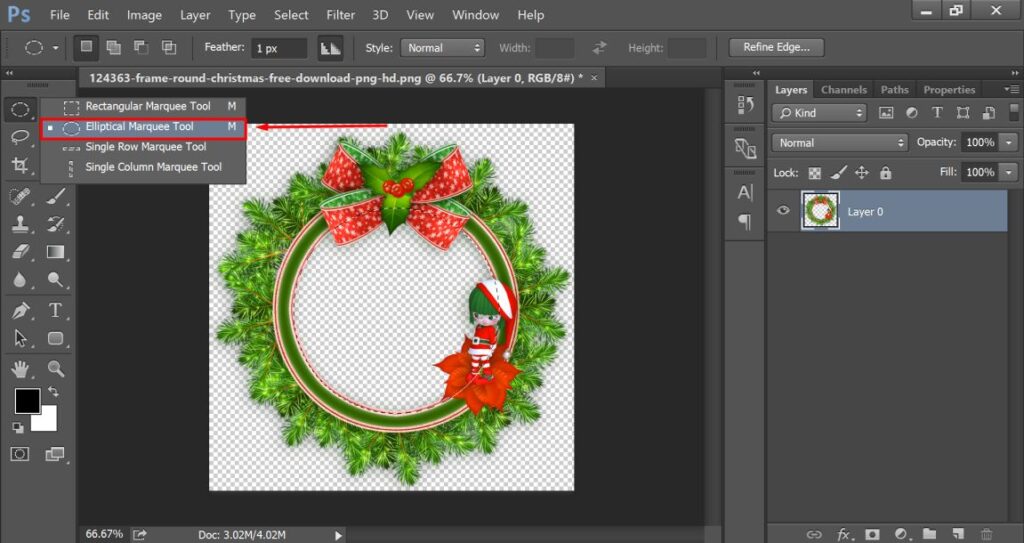
You have to hold the SHIFT key while creating a circle with this selection tool. You need to press the spacebar to move the position of the circle.
Step 3: Insert images into photo cutout ornament
Now, you have to insert the image within the photo frame. Drag the image and release it on the frame. Then, you have to place it in this form.
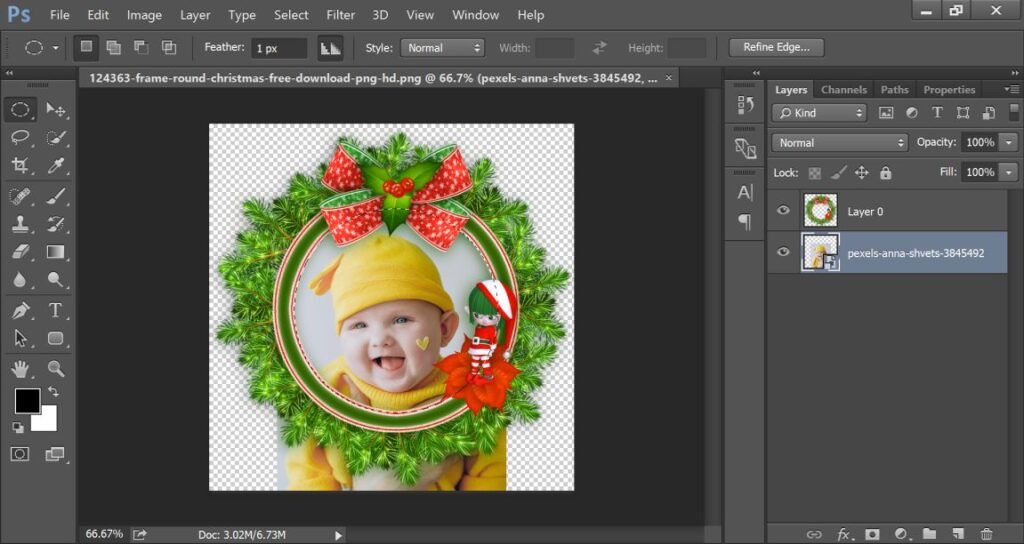
Make sure that your image layer is located at the bottom of the previous layer. It will make a perfect photo cutout ornament with Photoshop.
Step 4: Cut Out the image
At this point, you have to press CTRL + SHIFT + I to make the inverse selection. Then, you have to press the DELETE key to get rid of unnecessary portions.
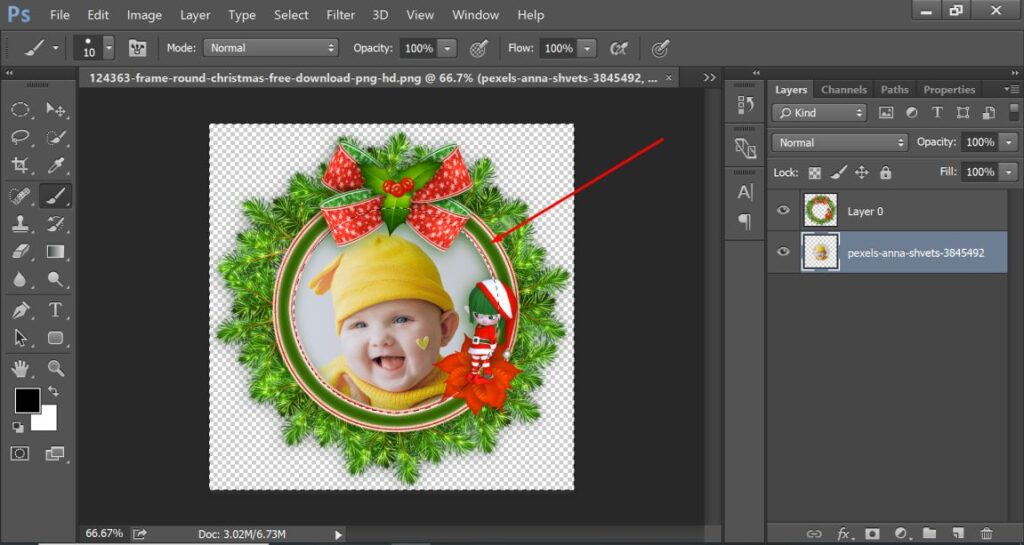
Now, we have got the image in perfect form. To deselect the image, you have to press CTRL + D. Here’s the final look.
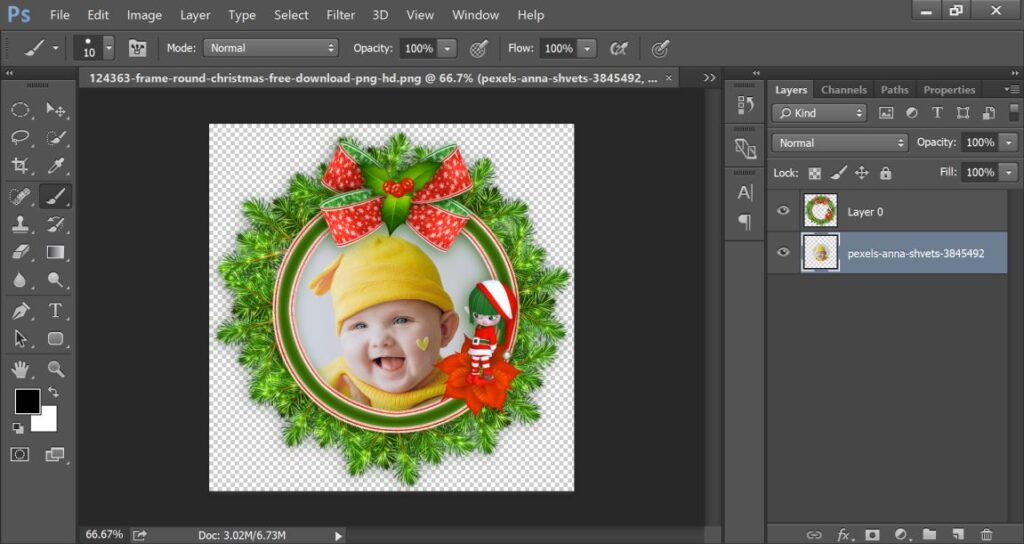
You can save the image from the file option at the top.
3 Tips
- Make sure that you place the image layer next to the ornament frame.
- Use the pen tool for busy background and gain accuracy.
- Apply the refine edge to fix any visible edge after the photo cut out.
3 Mistakes
- Do not erase the background when the layer is locked or not selected.
- Do not apply the magic eraser tool for busy backgrounds or complex images.
- Do not resize the image without enabling the free transform option to photo cut out.
Wrap Up
So, you just need to follow the above process to do a photo cutout ornament with Photoshop. At the same time, you can create photo cut-out Christmas ornaments with that simple technique.
When you have bulk images to cut out in Photoshop, it would be challenging for photographers and individuals to do it perfectly.
On that note, you can outsource image editing to Clipping Way to get a perfect image cut out for your photographs. We have a professional team of highly skilled 100+ designers.
We can handle bulk Photoshop image editing requirements marinating top-notch quality. A 100% money-back guarantee is available to ensure customer satisfaction.
FAQ’s
Can you turn a picture into an ornament?
Yes, using the photo cut ornaments method in Photoshop you can turn a picture into an ornament.
How do you make a photo ornament?
You have to cut out the ornament on a transparent background and place your photo within the ornament to make a photo ornament.
What are some creative ideas for using photo cutout ornaments?
You can use photo cutout ornaments for decorating Christmas trees, personalizing gift tags, and creating unique gift items. Also, you can design for events like weddings or birthdays to make special moments memorable.
