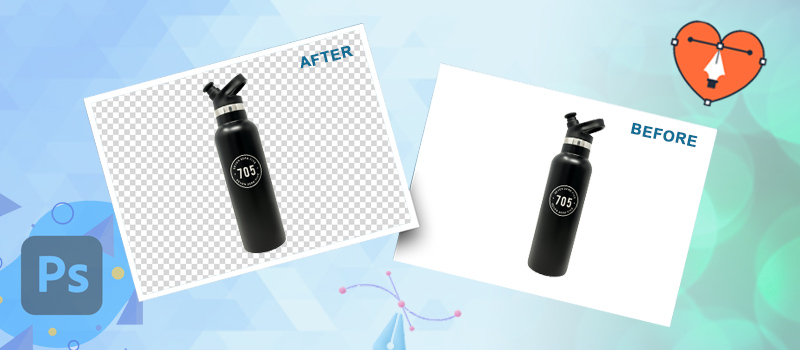
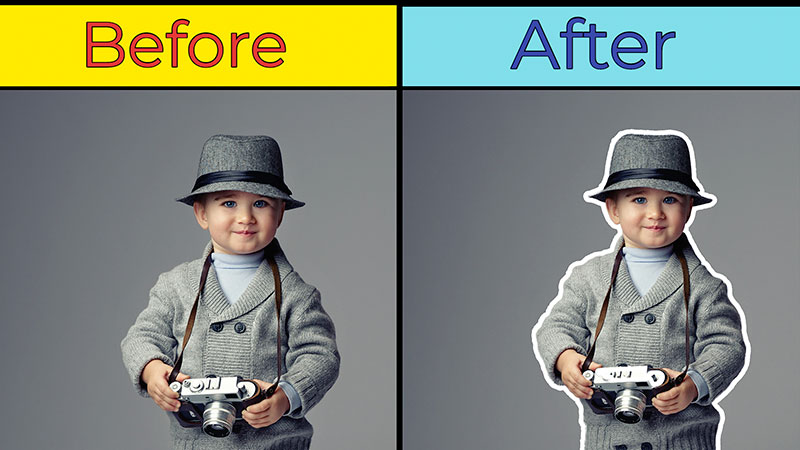
With the help of how to deep etch in photoshop, you can enhance your photograph quality and make the targeted object presentable.
Deep etching is required for professional photographers and online product image in photoshop make seller images suitable.
You can do deep etching yourself using any recent version of Adobe Photoshop. The process is easy to follow for anyone. Through this article, you will learn how to deep etch in Photoshop.
Here’s the easy step-by-step tutorial of Photoshop Deep Etching.
Table of Contents
How To Deep Etch in Photoshop (Tutorial)
Step 1: Open Your Picture
Firstly, you have to select an image for deep etching in Photoshop. Then, drag your image in Photoshop and you will get that type of interface.
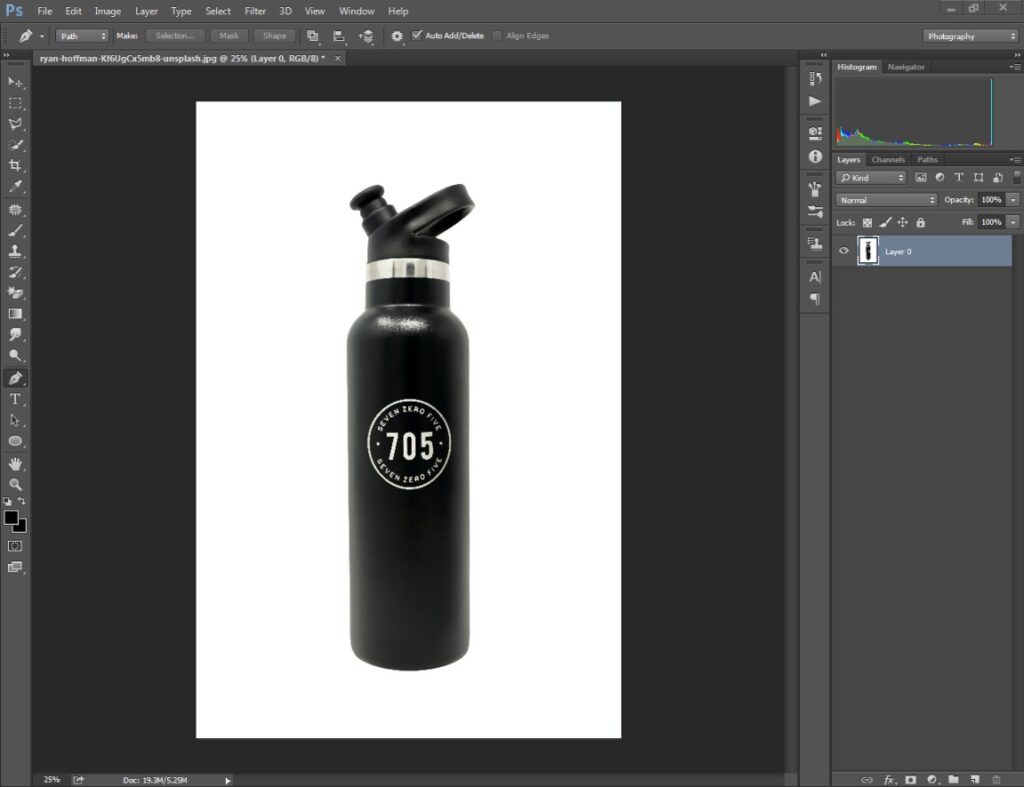
If you get the layer in locked form, you need to unlock the layer by double-clicking on it.
Step 2: Select Tool To Deep Etch
Secondly, you have to pick the Photoshop pen tool to deep etch your image. You can pick the tool from this option.
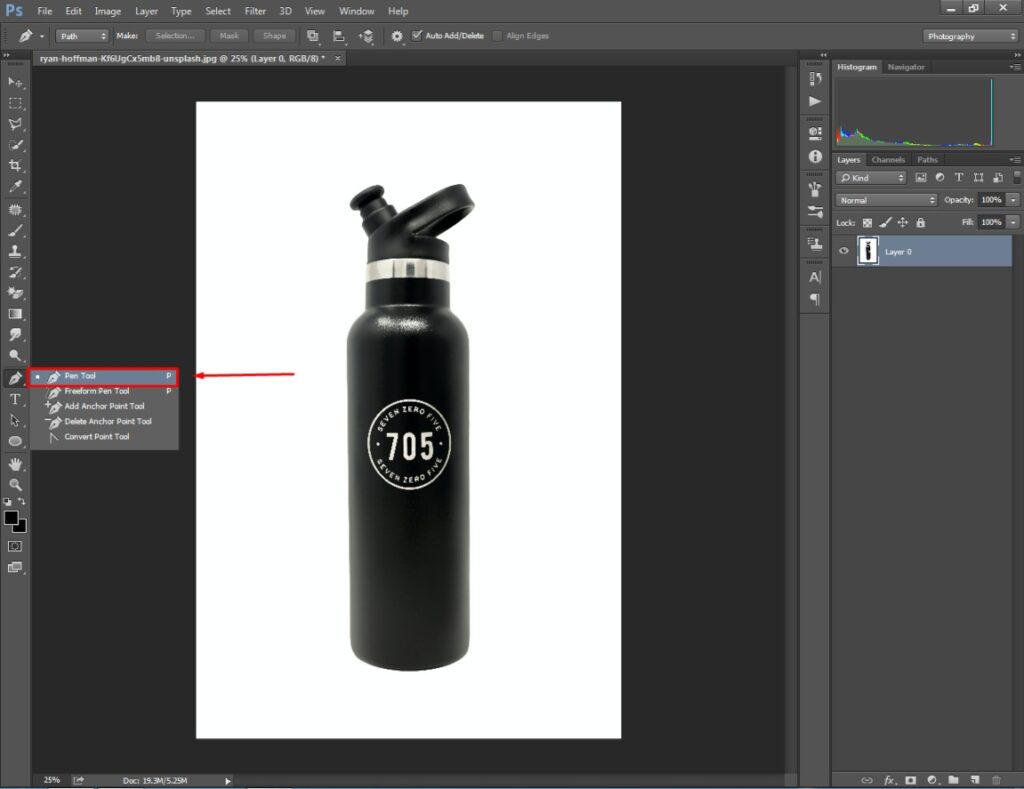
At this point, you have to zoom in on the image using CTRL and +. Next to that, select a starting point and start creating lines around your object.
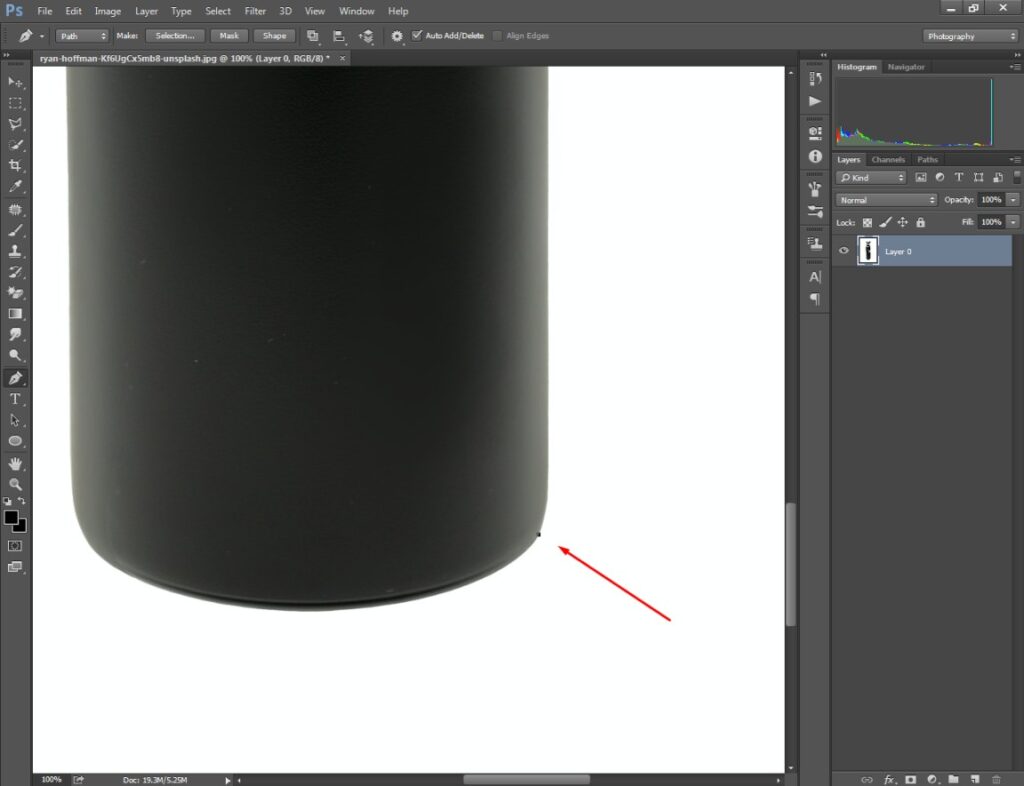
You have to cover the entire object with vector lines using this selection tool.
Step 3: Cover The Entire Object
While creating outlines around your object, the vector lines may go in the wrong direction.
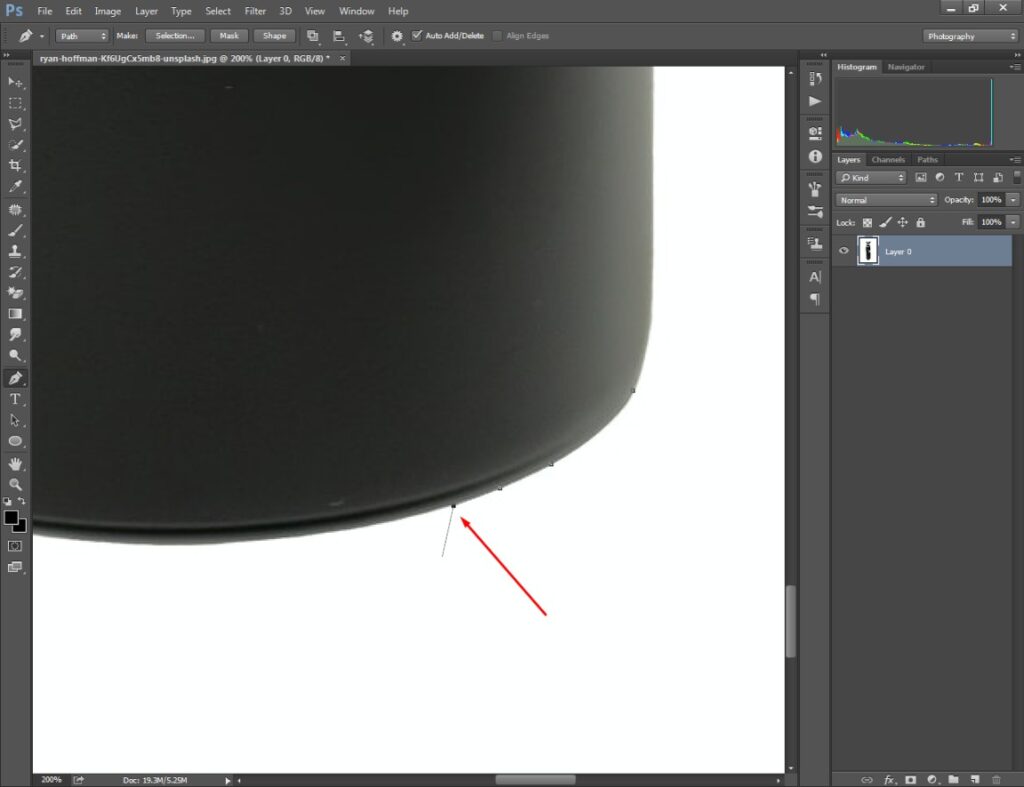
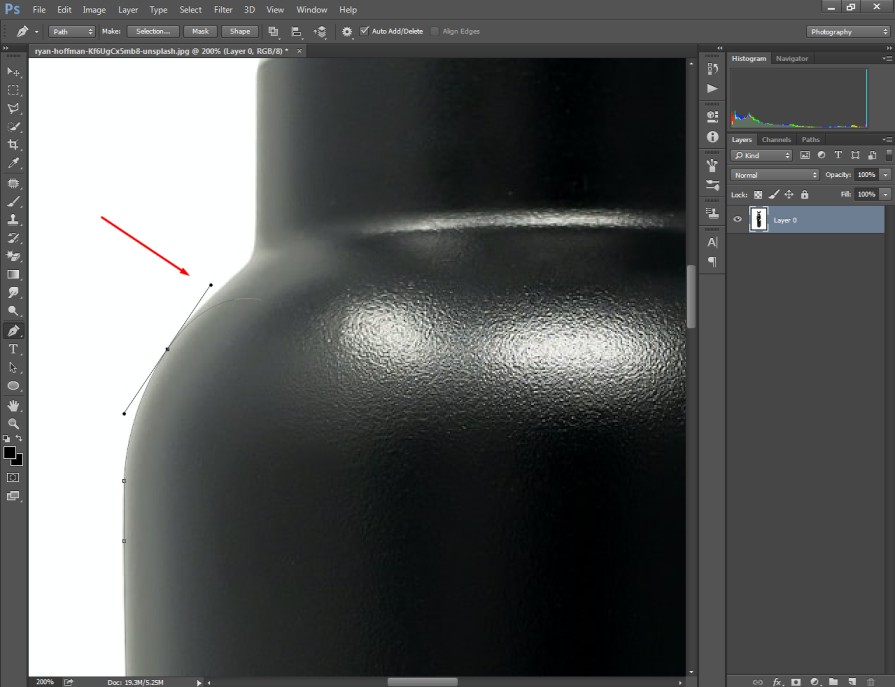
You can delete those unnecessary lines by holding the “ALT” key and clicking on the anchor point. Do you want to bend the line? In that case, you have to drag the mouse up and down to get a curve line.
Here’s an example.
When you finish covering the main object, you need to stop your anchor point at the starting point. You can see that here.
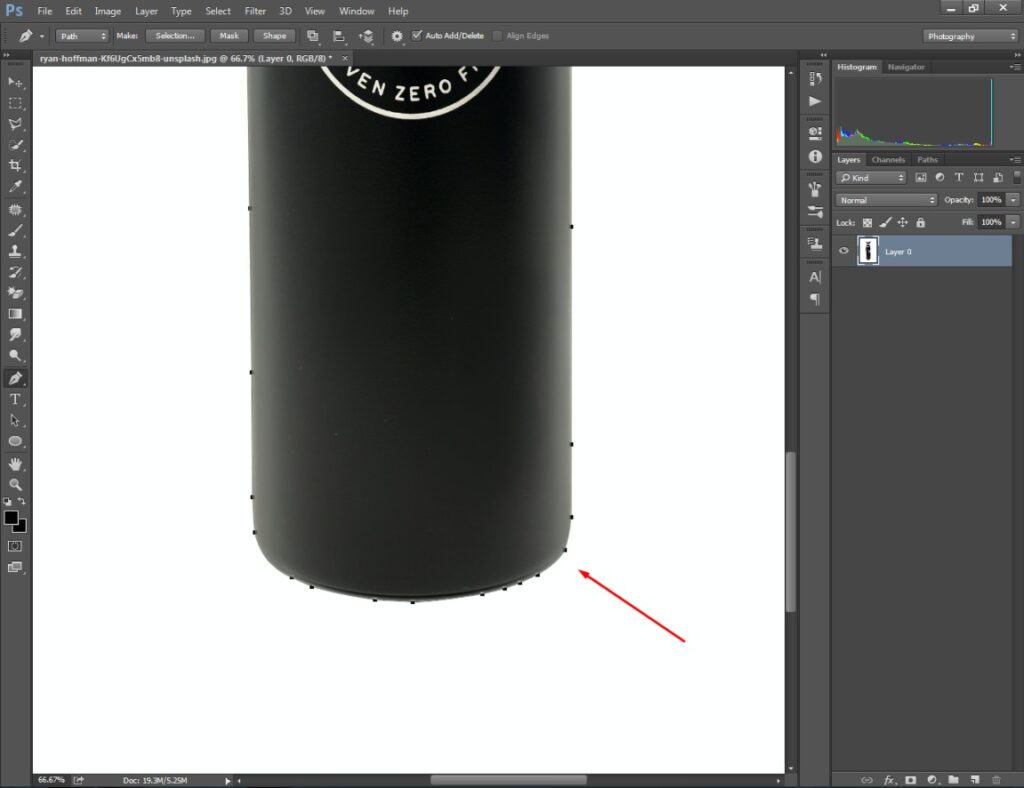
Now, we are going to save the path that we have created.
Step 4: Save Deep Etching Work
To save your work, you have to go to the “paths” section. After that, double-click on it to save your deep-etched image.
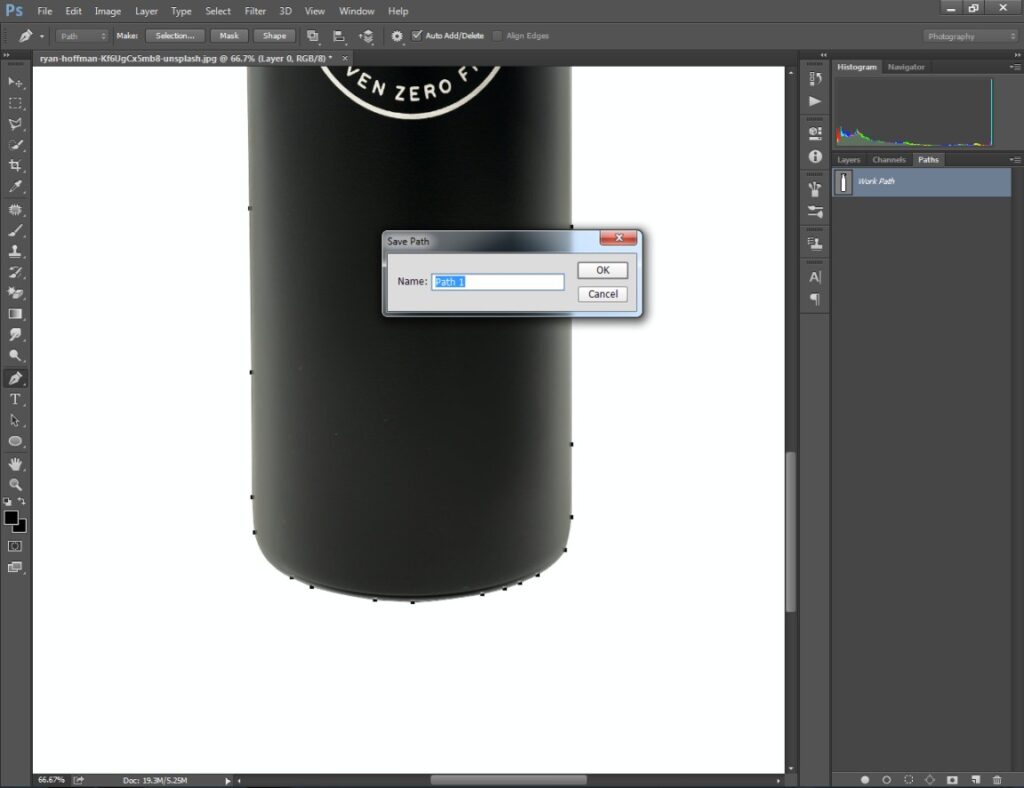
Now, it’s time to separate the product from its original background.
Step 5: Separate The Its Background
At this stage, you ought to right-click on your deep-etched image to get the selection option.
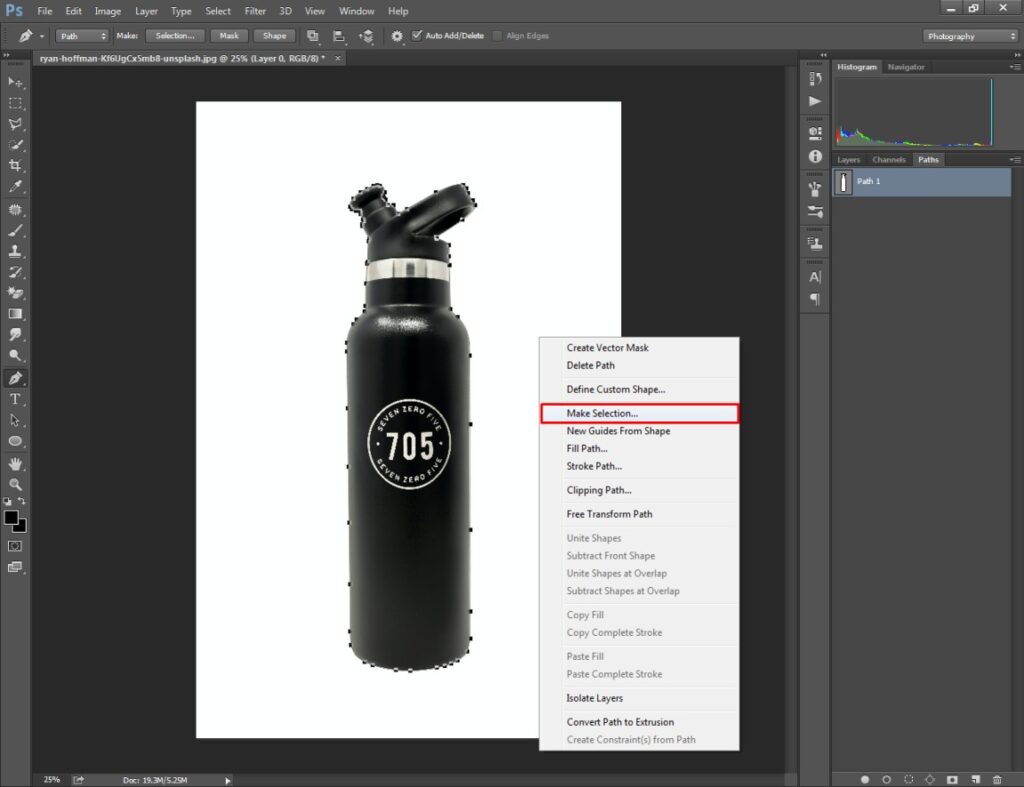
Click on the make selection to convert the deep etching work into a selection. That will select the object covered with vector lines. Press “CTRL + SHIFT + I” or use the inverse selection feature to reverse the selection.
Finally, you can separate the object by pressing the delete key. Here’s the look after separating the background.
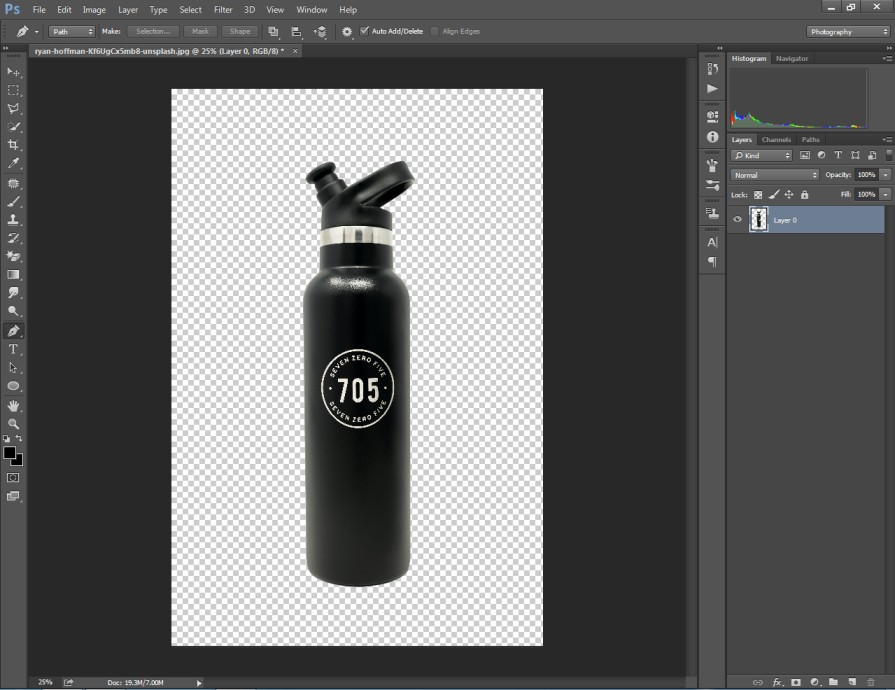
Now, you can save the image in the format you like.
Pros
- If there is any hole inside the object, you can create multiple paths.
- Drag the mouse to get perfect lines for the bending area.
- Apply Feather Radius to get smooth edges.
Cons
- Do not proceed to your deep etching task without Zooming in.
- Do not create a separate ending point apart from the starting one.
- Do not try to adjust with straight lines in the bend section.
Final Words
That was the procedure of how to Photoshop deep etch service. I believe that now you can do it yourself with your photograph.
If you have a lot of images to work on, you can get assistance from expert designers. Click on the free trial now to get your quote.
FAQ’s
What does deep etching mean?
Deep etching a product image is the process of cutting out an object to isolate it from an unsuitable background.
How do i deep etch in Photoshop?
You can deep etch an image in Photoshop using the pen tool.
How to keep the edge smooth after deep etching in Photoshop?
You can utilize the feature radius option to get smoother edges.
